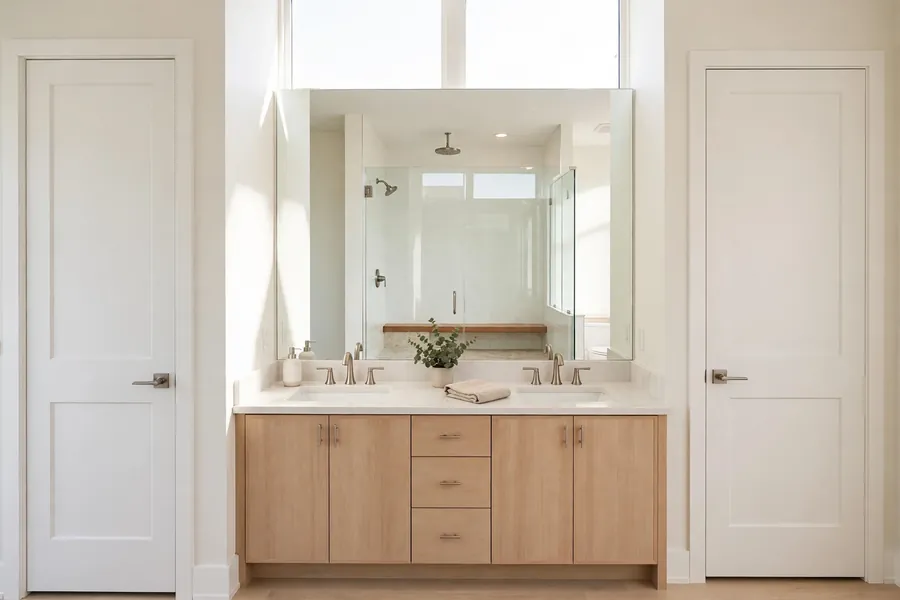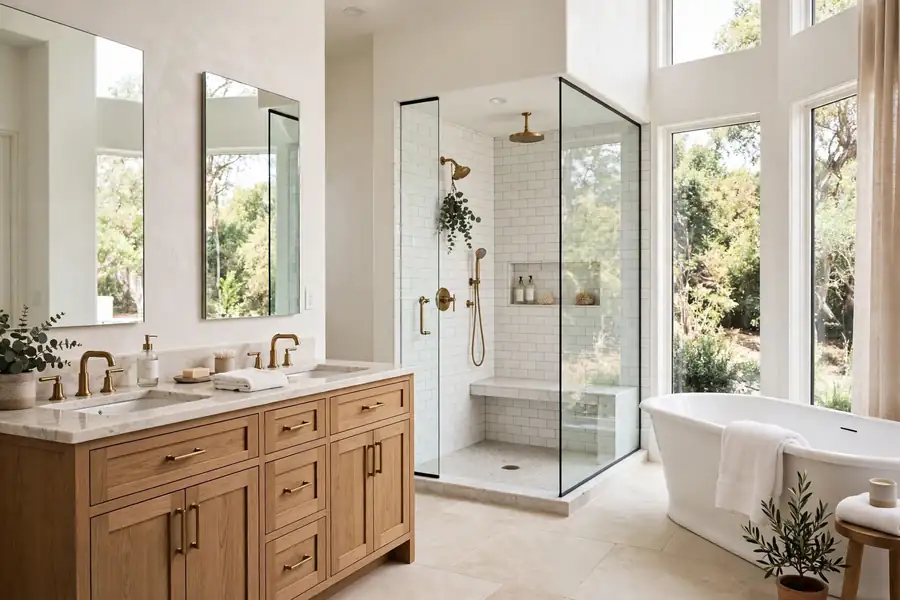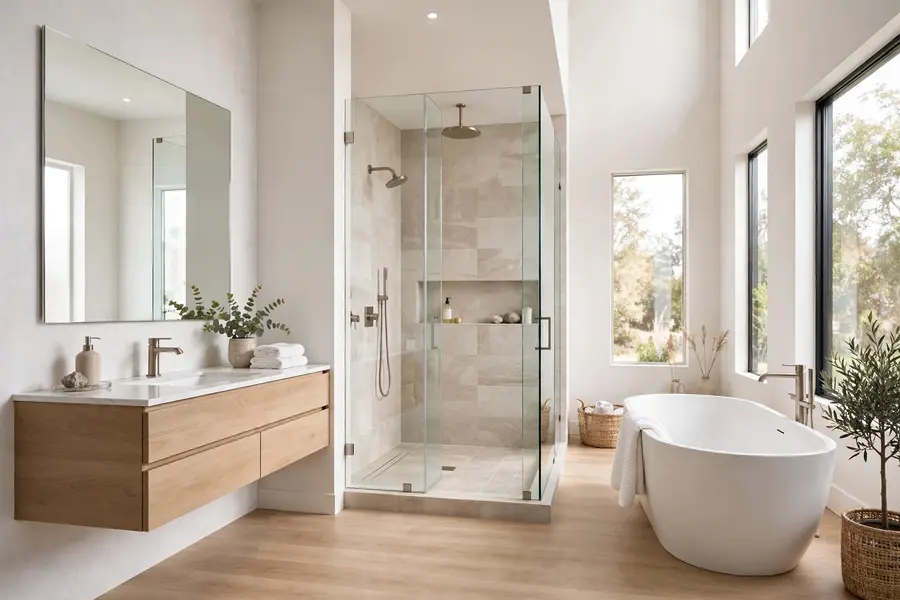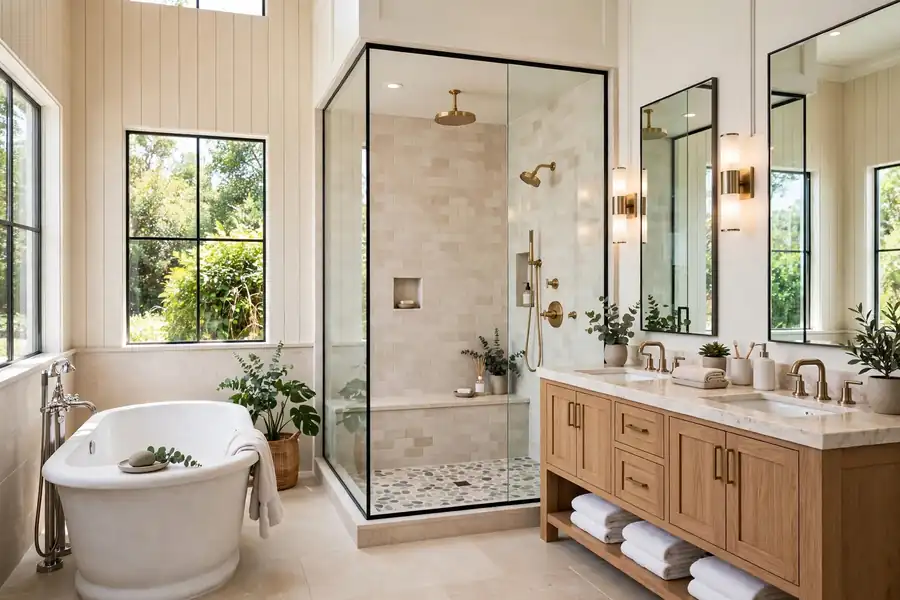
A bathroom fails in the plan long before it fails in the finish. The room reads wrong when the door hits the vanity, the shower feels tight, or the mirror light throws shadows, and no tile fixes any of that after the walls close. The strongest bathroom design ideas start with a tape measure and a floor plan, and the finishes come last, once the layout has passed the clearance numbers.
Bathroom design at a glance
| Decision | Rule that holds up | Where it goes wrong |
|---|---|---|
| Measure first | Draw the room to scale, with door swings and fixture footprints | Guessing leaves a toilet blocking the door |
| Design order | Layout, plumbing, surfaces, fixtures, lighting, color | Tile first locks a layout that never worked |
| Clearances | Code minimums are the floor, NKBA numbers are the target | Building to the minimum feels cramped |
| Palette | Three materials, one dominant finish family | Five finishes read as clutter |
| Lighting | Three layers: task, ambient, accent | One ceiling light leaves faces in shadow |
| Storage | Planned in the drawing, not added after tile | Products end up on the floor and counter |
| Access | Blocking for grab bars goes in before walls close | Retrofitting bars means opening finished walls |
Which bathroom design ideas hold up once you measure the room?
The ones that survive the tape measure are the ones drawn to scale before anything is bought. Measure wall to wall at floor and counter height, since older walls bow. Mark every door swing, including the shower door, because a swing crossing a fixture footprint is the most common layout failure in a small room. Note the window, ceiling height, and soil stack, since drains decide how far fixtures can move.
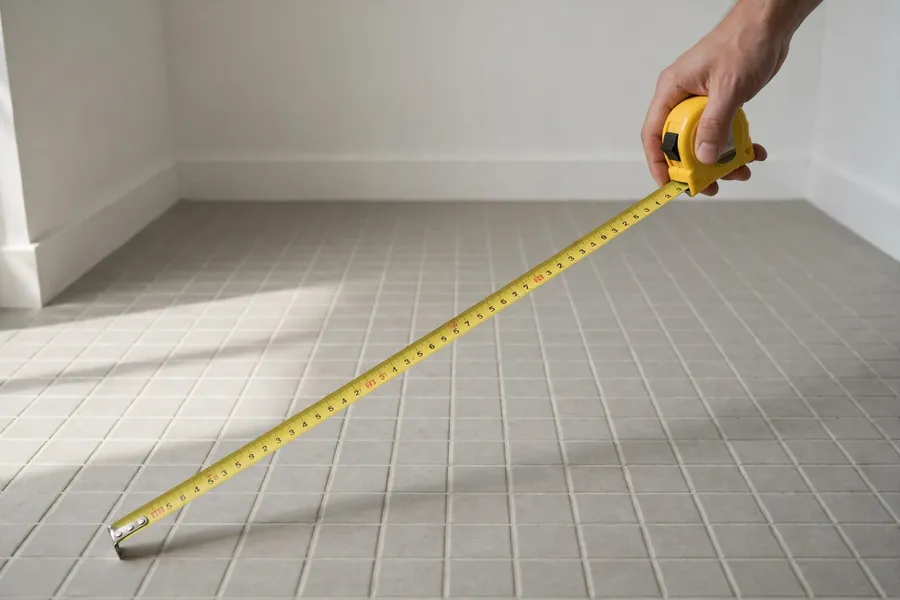
Draw the plan at one square per 6 inches, each fixture at real footprint: toilet tank plus bowl, vanity counter plus pull, shower curb or glass. Walk the plan with a finger through each move. If any move forces a sidestep, the layout is wrong on paper, where it costs nothing to fix. Keep plumbing on one wet wall where drains allow it.
What order should design decisions happen in?
Design decisions happen in a fixed order, and skipping ahead is how rooms go wrong. Layout first: fixture positions decide plumbing, door, and window. Plumbing second: drain and vent locations set how far each fixture can travel. Surfaces third: floor and wall materials decide grout lines, transitions, and waterproofing. Fixtures fourth: vanity, toilet, and shower fittings must fit positions the layout fixed. Lighting fifth: mirror, shower, and ambient light need circuits and boxes before walls close. Color last: paint and accessories are the cheapest layer to change and the worst to design around.
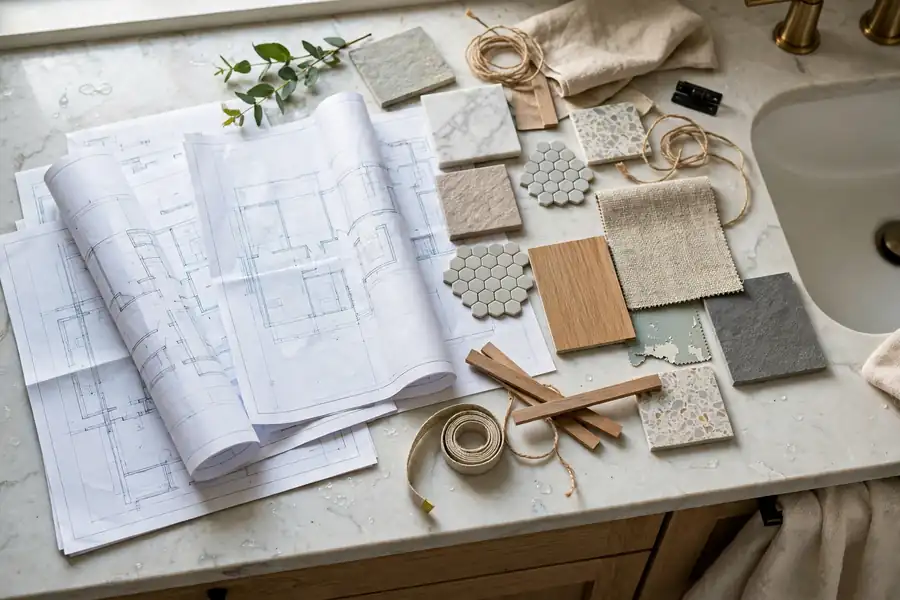
A change on paper costs an eraser; after tile is ordered it costs restocking, after tile is set, demolition. When a tile tempts you early, write it on a list and return to it at its turn.
How do you place the focal point?
A bathroom needs one thing the eye lands on from the door, and everything else supports it. Stand in the doorway: what the open door frames is the focal point, and it should be the best surface in the room, a tiled shower wall, a freestanding tub, or a well-lit mirror wall. If the first thing visible is the side of a toilet, swap it to a side wall or screen it with a half wall.
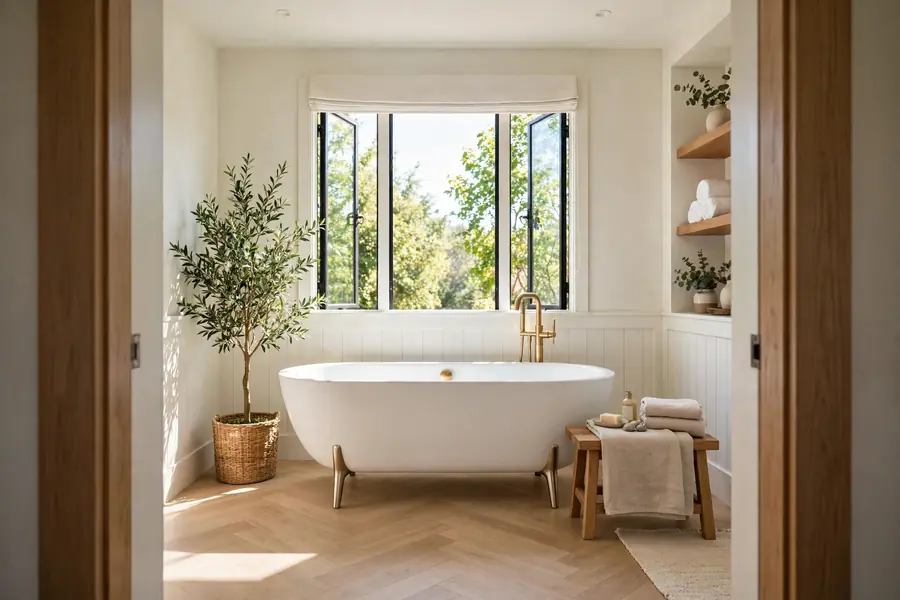
A tall element, such as a full-height tile wall, belongs on the far wall, drawing the eye through the room. Heavy weight, such as dark tile, belongs low or on one wall only. Keep the path from door to farthest fixture straight and clear, with the focal point at its end.
What clearances does a layout have to pass?
A layout must pass code minimums and should aim for the comfort numbers. Code figures come from the International Residential Code, comfort figures from the National Kitchen and Bath Association Bathroom Planning Guidelines with Access Standards, both read via summaries on October 27, 2026. Local codes adopt different editions, so the building department has the final word.
| Measurement | Code minimum | NKBA comfort target |
|---|---|---|
| Toilet centerline to a side wall or fixture | 15 inches | 18 inches |
| Clear floor in front of a toilet, sink, or tub | 21 inches | 30 inches |
| Clear floor in front of a shower entry | 24 inches | 30 inches |
| Single sink centerline to a side wall | 15 inches | 20 inches |
| Distance between two sink centerlines | 30 inches | 36 inches |
| Shower interior size | 30 by 30 inches | 36 by 36 inches |
| Door clear opening | Set by local code | 32 inches |
| Ceiling height over the room | 80 inches | 80 inches |
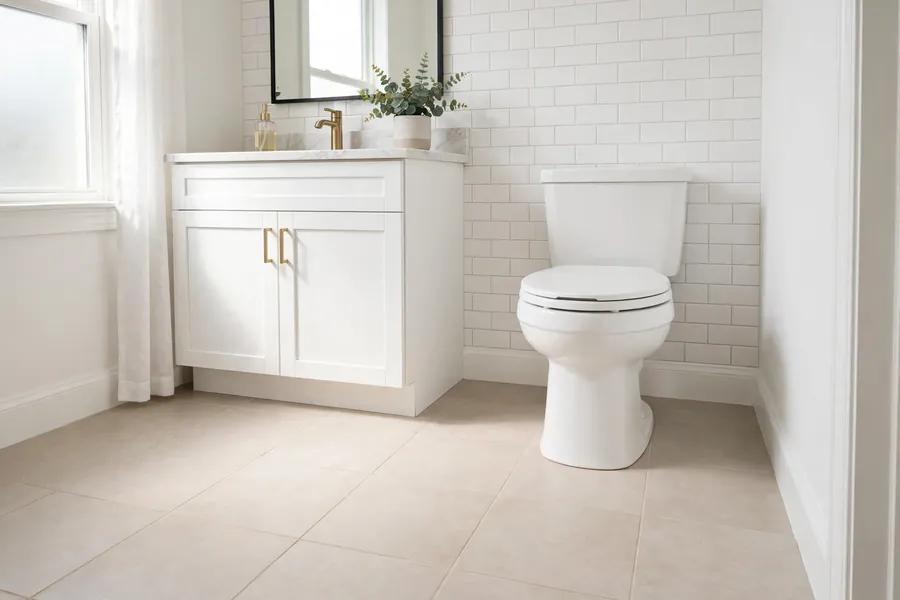
Measure from finished surfaces, not framing. No door may block another door or a fixture, and a door must not swing into the clear floor space required for a fixture where access clearances apply. A pocket door or outward swing solves a bad swing, but a pocket door needs a wall free of plumbing and wiring, so decide at the drawing stage. A toilet compartment measures 30 by 60 inches at code minimum and 36 by 66 inches at the comfort target, with a swing-out or pocket door.
How do you build a material palette that does not clash?
A palette holds three materials, with one doing most of the work. Pick the dominant material first, usually the floor or large wall tile, since it covers the most area and sets the undertone. Add a second material for contrast, such as a wood-look vanity against stone-look tile. Add a third for accent only, such as a metal trim or patterned niche tile, kept to a small area. More than three reads as clutter: the eye has no rest.
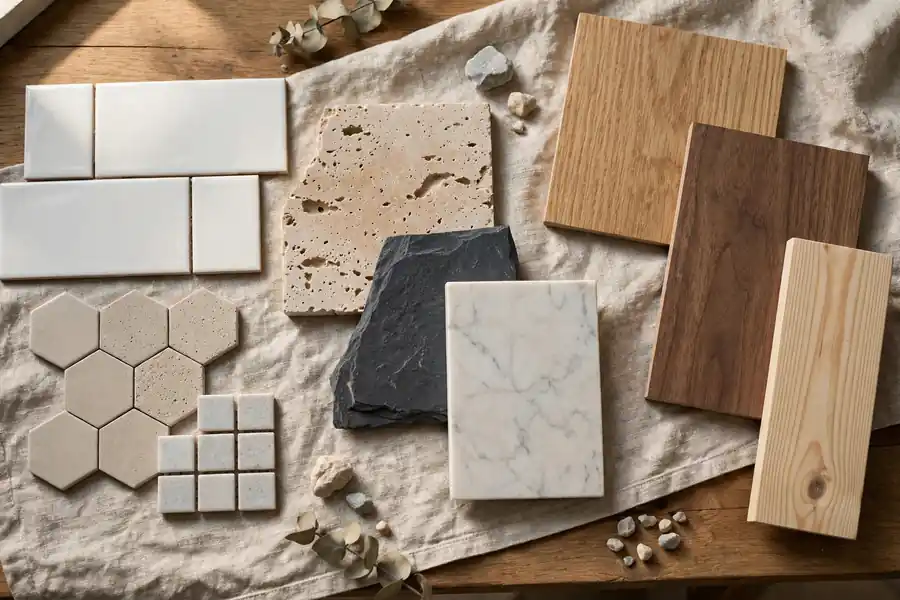
Finishes mix by family, not by exact match. Warm metals sit with warm metals, and cool metals with cool metals, so brushed nickel pairs with chrome but fights oil-rubbed bronze. Undertone decides the match: a gray tile with a blue undertone clashes with a beige tile with a yellow one. Gather physical samples and judge them under the actual bathroom light: screens lie about undertone. Remove one material if the group feels busy.
How do you light a bathroom in layers?
A bathroom needs three layers, and one ceiling fixture is not a plan. Task light serves the mirror. Ambient light fills the corners. Accent light draws the eye to the focal point. Each layer gets its own switch, so the room can run bright for cleaning, soft for a bath, and task-only in the early morning.
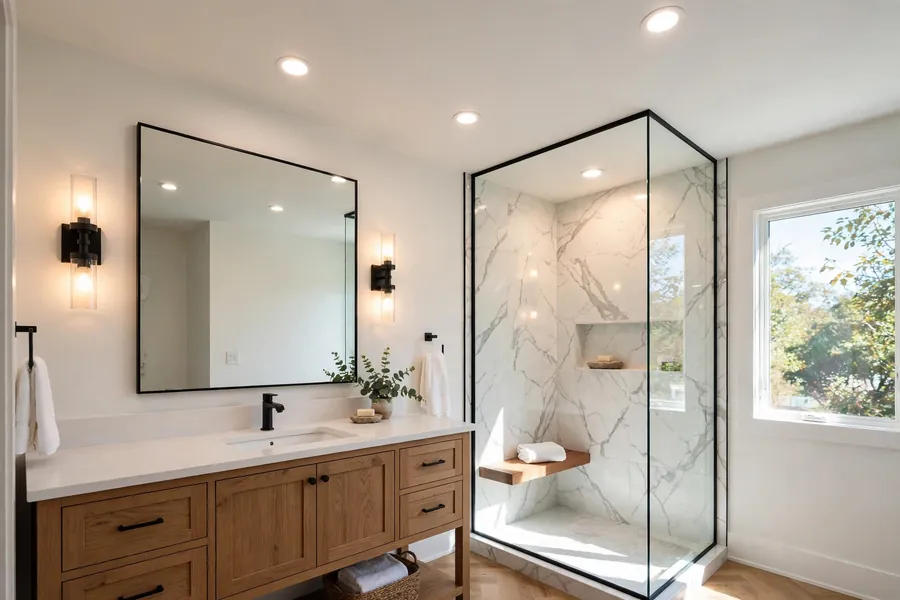
Light should strike the face from both sides at eye level, through flanking sconces or a lighted mirror, since one light above casts shadows under brow and chin. Size the mirror to the vanity, with the bottom edge of the reflecting surface no more than 40 inches above the floor. Choose warm white near 2700K or 3000K, color rendering index 90 or higher, so skin reads true. Fixtures at the vanity and over tub or shower need the damp or wet rating the location demands. Every receptacle needs ground-fault protection, one within 36 inches of each basin, on a dedicated 20-ampere circuit, per the National Electrical Code as summarized on October 27, 2026. Ventilation belongs in the same pass: 50 cubic feet per minute intermittent or 20 continuous, ducted outside, per the International Residential Code as summarized on October 27, 2026.
Where does storage go in the plan?
Storage goes in the drawing before tile is chosen: added later, it lands on counter and floor. List what the room must hold: daily items, towels, cleaning supplies, spare paper, medicines, hair tools. Assign each a home: daily items in the top drawer or a recessed medicine cabinet, towels in a linen tower or shower niche, cleaning supplies under the sink, hair tools in a drawer with an outlet. Drawers beat cabinet doors: a drawer brings contents out, a deep cabinet hides its back half.
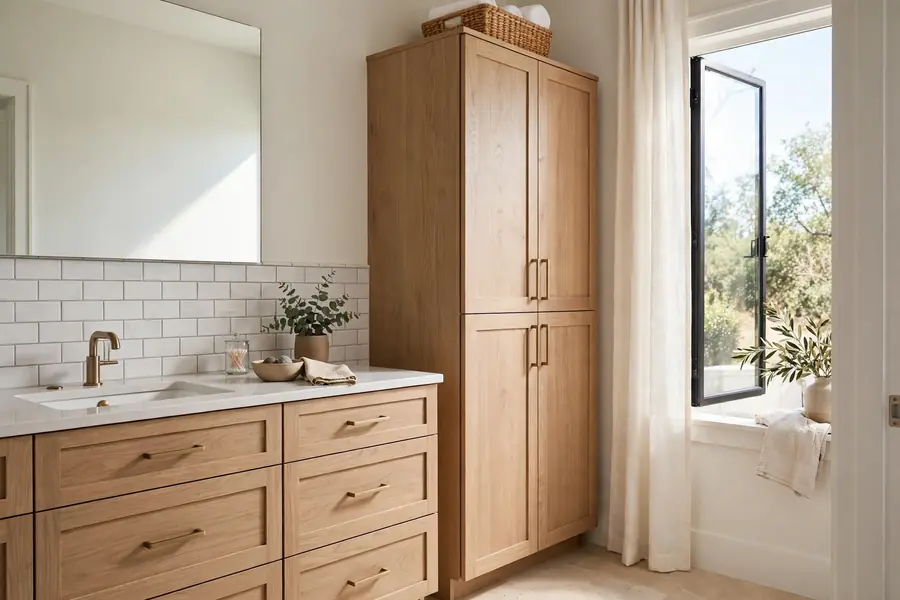
Recess storage wherever framing allows: medicine cabinet, shower niche, linen niche. Fix each position before walls close. Keep storage out of protected clear floor space and within reach of use: towels by the shower, spare paper by the toilet, daily items by the sink.
What color and paint decisions does the design set?
The design sets the color structure; the decorating layer fills it in. Decide the light-dark balance first: how much stays light, where dark lands, and whether the ceiling stays light. Dark tones work low, on floor or vanity, and on one accent wall with strong light. Pick a wet-service finish, satin or semi-gloss from a bath-rated line, and keep paint out of direct spray zones.
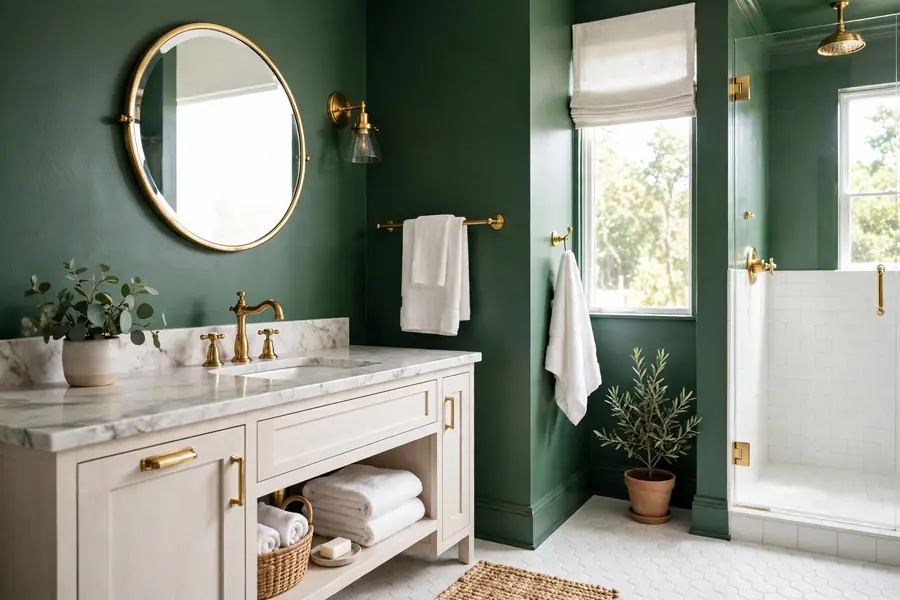
Judge color by light reflectance value, how much light a color bounces back, and test large swatches under the planned lighting before buying gallons. A color calm on a card can read gray or pink on a whole wall. Detailed schemes belong to the decorating guidance; this section fixes only the structure.
What tile decisions does the design set?
The design sets four tile decisions; specification detail belongs to the tile guidance. First, size: large-format tile means fewer grout lines; small mosaic belongs on the shower floor, where joints grip and follow the slope. Second, slip: the floor tile needs a wet slip rating, with ANSI A326.3 wet dynamic coefficient of friction of 0.42 or higher for level interior floors walked on when wet, read via a tile maker page on October 27, 2026. Third, grout: color and joint width are chosen with the tile. Dark grout hides dirt but shows haze; wide joints suit handmade tile, narrow joints rectified tile. Fourth, waterproofing: the shower floor slopes not less than one quarter inch per foot and not more than one half inch per foot toward the drain, per IRC P2709.1.
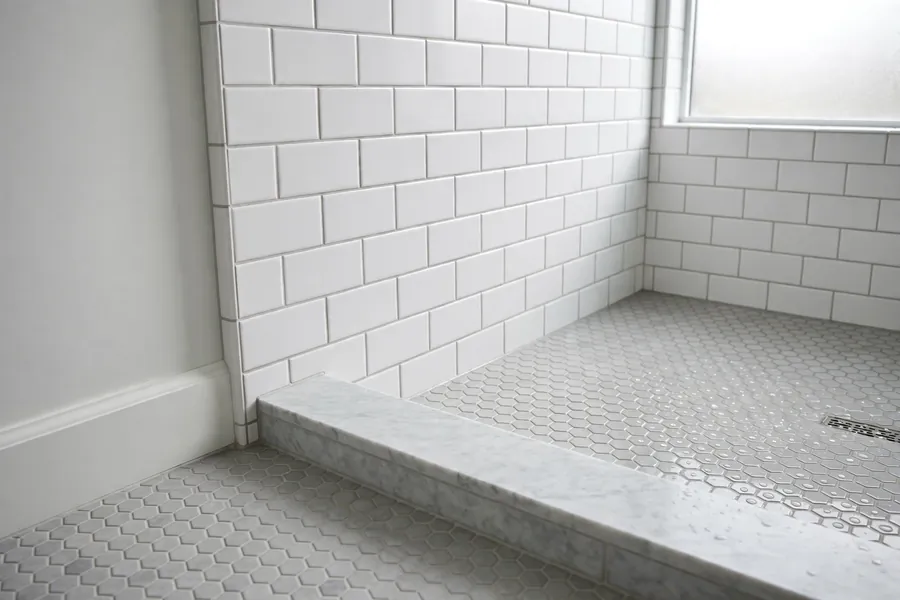
Beyond those four, including materials, patterns, and sealing, belongs to the tile guidance. Fix the four in the drawing: a tile chosen without slope, slip rating, and grout color is a guess.
Which footprints fit which bathroom?
Footprints decide the fixture list before style is discussed. The table gives the working fit for each size, measured inside finished walls. A footprint meeting only code minimums will feel tight: treat the comfort column as the real test and drop a fixture rather than compress every clearance. Small-room detail belongs to the small bathroom guidance.
| Footprint | Area | Working fit |
|---|---|---|
| 4 by 6 feet | 24 sq ft | Half bath only: sink and toilet |
| 5 by 5 feet | 25 sq ft | Tight three-piece room, corner shower |
| 4 by 9 feet | 36 sq ft | Narrow three-piece room, fixtures on one wall, pocket door |
| 6 by 6 feet | 36 sq ft | Three-piece room, shower, compact vanity |
| 5 by 7 feet | 35 sq ft | Three-piece room, tub or shower, single vanity |
| 5 by 8 feet | 40 sq ft | Standard full bath: tub or shower, toilet, single vanity |
| 8 by 5 feet | 40 sq ft | Same as 5 by 8, turned |
| 6 by 8 feet | 48 sq ft | Full bath, wider shower or tight double vanity |
| 7 by 7 feet | 49 sq ft | Full bath, walk-in shower, linen tower |
| 8 by 8 feet | 64 sq ft | Separate shower and tub, or a generous walk-in |
| 8 by 10 feet | 80 sq ft | Primary bath: double vanity, walk-in shower, toilet compartment |
| 10 by 10 feet | 100 sq ft | Large primary bath: double vanity, shower plus tub, storage wall |
| Half bath, 1/2 bath | Varies | Sink and toilet only, mirror wall as focal point |
| 3-piece room | Varies | Sink, toilet, and one bathing fixture |
A door in the middle of the long wall wastes the most space. Move it to a corner and the same footprint gains a fixture wall. Where the footprint cannot hold the list, remove a fixture: a shower-only room beats a tub-plus-shower room that traps the door.
Which style direction fits the house?
Style is a decision about the house. The direction should match the architecture and surrounding rooms. One defining move per direction below; detail belongs to the decorating guidance. Pick one lead and one accent.
| Style direction | Defining move | Where it fails |
|---|---|---|
| Modern | Flat fronts, frameless glass, large-format tile, no ornament | Cold without one warm material |
| Farmhouse and country | Shiplap, apron sink, warm wood, vintage fittings | Themed when every surface plays the part |
| Rustic | Rough wood, stone, dark metal, handmade texture | Heavy and dark without strong light |
| Traditional and classic | Framed cabinetry, classic tile, polished fittings, symmetry | Stuffy when the palette turns all beige |
| Contemporary | Current forms, softer edges, mixed materials | Dates fast when it chases one season |
| Coastal and nautical | Light blues and whites, weathered wood, stripe accents | Beach-themed when accents outnumber the room |
| Spa and natural | Stone, wood, plants, soft light, minimal clutter | Bare without texture in the surfaces |
| Luxury and elegant | Marble, brass, chandelier light, generous mirrors | Overdone when every fixture shouts |
| Art deco | Bold geometry, black and white, stepped mirrors, jewel tones | Loud in a small room unless one wall carries it |
| Victorian | Clawfoot tub, patterned floor tile, ornate fittings | Cramped when fixtures outgrow the footprint |
| Mediterranean | Terracotta, warm plaster, arched niches, patterned tile | Heavy in a north-facing room |
| Scandinavian and Japandi | Pale wood, white, clean lines, calm and uncluttered | Sterile without texture and one warm accent |
| Boho and eclectic | Layered pattern, plants, collected objects, mixed eras | Cluttered when nothing is edited out |
| Industrial | Exposed brick or concrete, black steel, Edison light | Cold and echoing without soft textiles |
| Tropical | Lush plants, woven texture, bold leaf pattern, warm light | Tired when plants outgrow the light |
| Transitional and timeless | Classic bones with current finishes, nothing extreme | Bland when no decision has conviction |
| Minimalist | One palette, hidden storage, nothing on display | Unlivable when daily items have no home |
| Moody | Deep color, low light, rich texture, dramatic mirror | Gloomy without layered light |
| Smart | Touchless fittings, heated floors, lighted mirrors | Gimmick-led when technology outruns the layout |
How does the design change by room type?
The process stays the same; the room type changes the priority. Detail for small and primary rooms belongs to their own guidance.
| Room type | Lead priority |
|---|---|
| Small | Clearances and door swing first, all else bends to them |
| Half bath and powder room | Mirror wall: guests see one wall, use two fixtures |
| Guest | Durable surfaces, towel storage guests can find unaided |
| Kids | Low step, reachable mirror, surfaces that survive toothpaste and toys |
| Primary and master | Double vanity, shower, closet connection, paths that do not cross |
| Large | Zoning: wet, grooming, dressing zones distinct |
| Basement | Moisture and drainage, fan that truly exhausts outside |
| Attic | Ceiling slope decides tub and tall storage spots |
| Narrow and long | Wet wall down one side, path kept straight |
| L-shaped | The turn, used for toilet compartment or linen storage |
| Split | Separation: two people use sink and toilet areas at once |
| Wet room | Drainage: whole floor tanked, sloped to one drain |
| Ensuite | Bedroom connection: door, closet, bathroom path aligned |
| Hall | Shared access a stranger can use without a tour |
| Laundry combo | Machines first, wet zone shared, dryer vented outside |
| Mobile home | Weight and size, compact fixtures on existing drains |
| Apartment and condo | Existing stack, since moving drains needs approval |
| Family | Durability and storage, room for two children at the sink |
| Main | Everyday routine, serving the whole household each morning |
How do you design a bathroom that stays usable as you age?
Design for aging in place means building access in while walls are open, not adding it after a fall. Numbers below come from the 2010 ADA Standards for Accessible Design, read via summaries and filings quoting the standard on October 27, 2026. The ADA governs public and commercial buildings, not homes, so these are borrowed targets; local code governs. Where the room cannot meet every number, meet turning space, toilet clearance, and grab-bar blocking.
Plan a clear floor space of 30 by 48 inches at each fixture, and a turning space of 60 inches in diameter, or a T-shaped space inside a 60 by 60 inch square. Set the toilet centerline 16 to 18 inches from the side wall, with a clear space 60 inches wide and 56 inches deep around it, and a seat height of 17 to 19 inches, so a sideways transfer works without climbing. Put solid blocking at toilet and shower before walls close, so grab bars can be fixed later without opening tile: bars mount 33 to 36 inches high, side bar at least 42 inches, rear bar at least 36, each holding 250 pounds. Choose a curbless shower with bench and handheld shower on a bar, lever handles, a sink rim no higher than 34 inches with knee clearance 27 high and 30 wide beneath, and a mirror bottom edge no higher than 40 inches. Keep controls and storage between 15 and 48 inches, inside the standard's reach range.
What does a designer deliver, and when is one worth the fee?
A designer earns the fee when the room has a hard constraint: a moved drain, a tight footprint, a load-bearing wall, or access needs. A designer also earns it when the owner cannot draw the plan, since a professional drawing is what the trades build from. A simple refresh, fixtures staying in place, rarely needs one.
Agree in writing on deliverables before work starts: a measured survey, a scaled floor plan with footprints and clearances, wall elevations with tile layout and fixture heights, a lighting plan with circuits and switches, a finish schedule naming every material and fitting, and a tile layout showing cuts and pattern centers. Some designers also run ordering, site visits, and contractor coordination, each changing the fee. Fees run hourly, flat for the drawing package, or as a percentage of project cost; state the basis plainly. Ask for references, check required insurance, and confirm who owns the drawings if the relationship ends. Hiring, permits, and sequence belong to the remodel guidance.
What are the ten design mistakes that cost the most to fix?
Each mistake is preventable on paper, and each fix after tile is set costs a multiple of drawing it right. Check each row against the drawing with a pencil.
| Mistake | Why it costs so much to fix |
|---|---|
| Choosing tile before the layout exists | Tile locks sizes the layout cannot hold, so tile or plan is scrapped |
| Letting the door swing eat the clearances | Moving a door after framing means reframing, retiling, repainting |
| Setting the toilet centerline under 15 inches | Moving a toilet means moving a drain, in a slab that means cutting concrete |
| Building a shower too small or flat | A shower that cannot drain or fit a person needs pan and walls rebuilt |
| Lighting the room with one ceiling fixture | Adding mirror light later means opening finished walls for new boxes |
| Sizing the mirror to the wall, not the vanity | A wrong mirror leaves light misplaced and tile cut wasted |
| Planning no storage until the room is done | Recessed storage cannot be added without opening walls |
| Mixing five finishes in one small room | Replacing one finish means replacing everything it touches |
| Forgetting ventilation in the plan | A late fan gets a long duct run or an attic vent, which code forbids |
| Skipping blocking for grab bars and heavy fittings | Fitting bars later means opening tile to find wood never put in |
How do you design a bathroom that stays easy to clean?
Design for cleaning by removing dirt traps: large-format tile with fewer grout lines, sealed floor-to-wall joints, a wall-hung toilet with concealed tank, a frameless glass panel with minimal hardware. Give daily items a drawer, keep shower products in a niche, slope ledges to the drain. Cleaning methods belong to the cleaning guidance; this paragraph fixes only the design moves behind them.
How does the design change the budget?
The design changes the budget more than any finish, because it decides how much moves. Keep fixtures on existing drains and the budget goes to surfaces and light. Move a drain and the budget goes to plumbing. Change the footprint and it goes to structure. Order spending as the decisions run: layout and plumbing, waterproofing and surfaces, fixtures, lighting, accessories, so a cut lands on the cheapest layer.
Expectation bands, not prices, are the honest way to plan: costs vary by region, room condition, and who does the work. A refresh keeps layout and drains. A partial remodel moves one fixture or opens one wall. A full remodel moves drains, changes the footprint, and rebuilds from the studs. Each band costs a multiple of the one before it. Cost figures and hiring detail belong to the remodel guidance.
Start with the plan, not the tile
A good bathroom is decided at the drawing board, in the order this guide sets out: measure, lay out, fix the plumbing, choose the surfaces, place the fixtures, light the mirror, and settle the color last. The clearances pass, the palette holds three materials, the storage has a home, and the access is built in before the walls close. These bathroom design ideas work because each decision answers the one before it, and the room that results looks calm on an ordinary Tuesday, not only on the day it is finished. Design coverage for bathrooms runs from 2012 through 2026 in the sources read for this guide, and the current direction, read October 27, 2026, favors warm neutrals, large-format tile, fluted texture, and curbless showers, with older year-by-year trends folded into the tables above rather than chased one season at a time.
Quick answers to common questions
Should you design the layout before choosing tile?
Yes. The layout decides the plumbing, the door, and the clearances, and tile chosen first locks sizes and patterns the layout may not hold. Choose the tile after the plan passes the clearance numbers.
What is the smallest bathroom that fits a shower and a toilet?
A 5 by 5 foot room can hold a shower, a toilet, and a sink at a squeeze with a corner shower and a compact vanity. A 5 by 7 or 5 by 8 foot room fits the same three fixtures with real clearances, and is the smallest size that feels comfortable.
How many materials should a bathroom palette hold?
Three materials, with one dominant, one for contrast, and one for accent. More than three in a small room reads as clutter, since the eye has no rest and every surface argues with the next.
Do you need a designer for a bathroom remodel?
Not for a refresh with fixtures staying in place. Hire one when a drain moves, the footprint is tight, a wall moves, or the household has access needs, and agree in writing on the drawings and the finish schedule the fee buys.
How do you design a bathroom for aging in place?
Build the access in while the walls are open: a 60-inch turning space, a toilet centerline 16 to 18 inches from the side wall, blocking for grab bars, a curbless shower with a bench, lever handles, and controls between 15 and 48 inches above the floor.