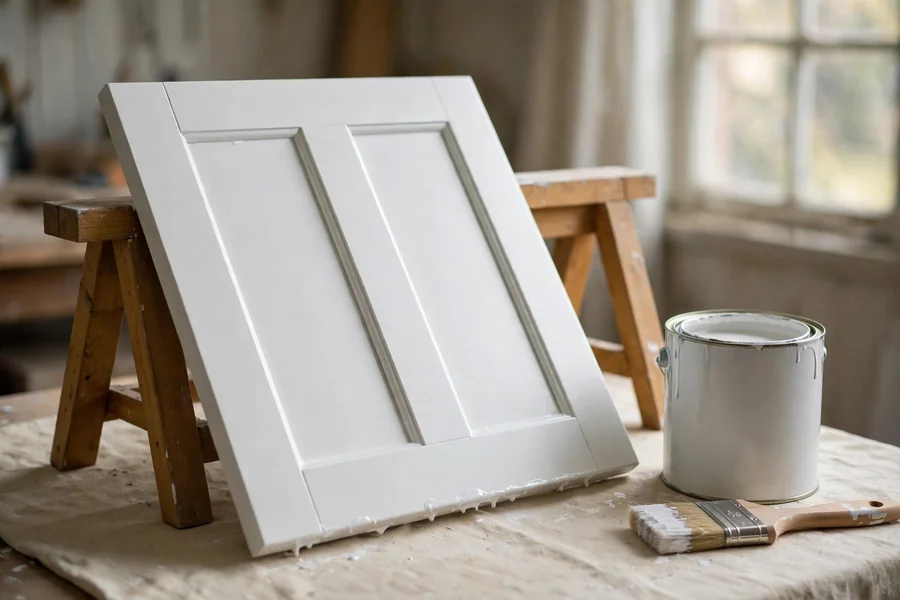
Painted cabinets fail in the prep, not in the painting. Grease left on a door, a slick surface with no primer, or a coat put back into service before it hardens will peel no matter how good the paint is. To get a finish that lasts, you need to know how to paint kitchen cabinets in order: degrease, scuff sand, bond with the right primer, lay on two thin coats of cabinet enamel, and let the finish cure. Plan on about 10 days from the first wipe-down to rehanging the doors, and use a cabinet enamel, never wall paint, on surfaces hands grab every day.
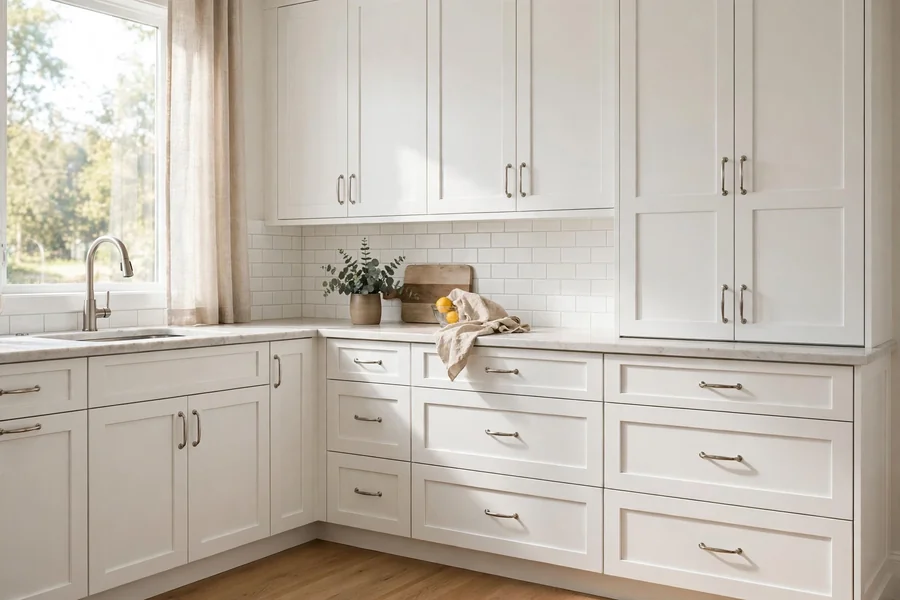
Painting kitchen cabinets at a glance
| Route | Finish | Time | Cost |
|---|---|---|---|
| DIY, brush and roller | Good, with slight texture on flat panels | 7 to 10 days | Materials only, about $200 to $600 |
| DIY, sprayer | Smoothest, closest to a factory finish | 7 to 10 days, plus masking and spray practice | Materials plus sprayer rental or purchase |
| Professional, sprayed | Smoothest, with shop prep and a warranty from the painter | 3 to 7 days of work in the home | $425 to $1,466 for most projects, per Angi data from September 2026 |
Should you paint your cabinets or replace them?
Paint suits cabinets that are sound but dated. Solid boxes, doors that close true, drawers that run, and a finish that is worn or the wrong color are good candidates. Paint will not fix a broken box, a sagging shelf, a door with a broken corner, or veneer that is peeling across large areas. Angi's cabinet guide, updated July 8, 2026, gives the same test: minor cosmetic flaws are safe to paint, while rough shape, peeling veneers, sagging shelves, and broken drawer corners point to replacement.
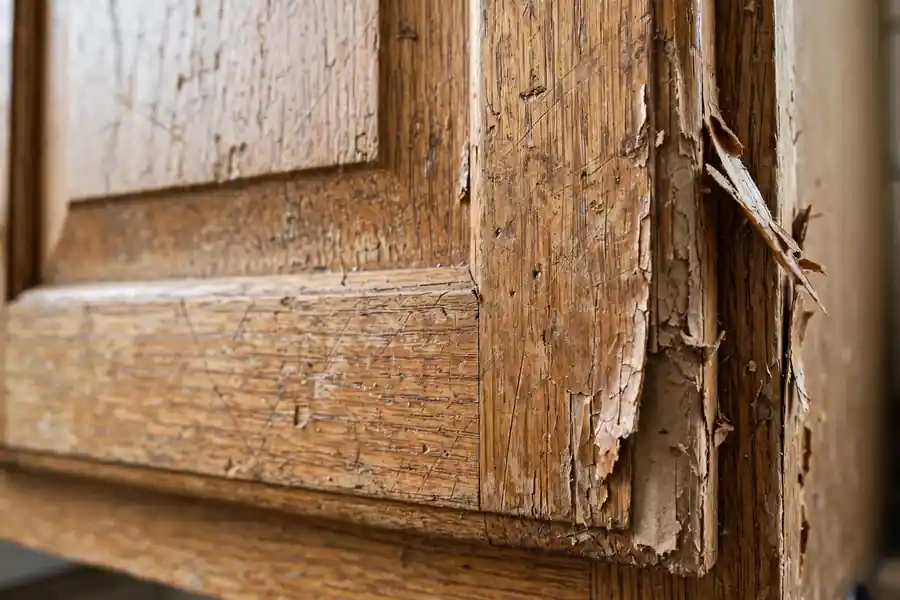
Check the material before you decide. Solid wood, plywood, and MDF take paint well. Laminate and thermofoil can be painted, but only with the prep those slick surfaces need, covered later in this guide. A thermofoil door that is already peeling at the edges will keep peeling under new paint, because the film itself is lifting from the board. In that case, strip the film and paint the MDF underneath, or change the doors. Painting also cannot change a bad layout or add storage, so if the kitchen does not work, a new layout beats a new color.
What paint and primer do you need for kitchen cabinets?
Use a cabinet enamel, a paint made to level smooth and harden into a surface that stands up to hands, water, and cleaning. Wall paint stays soft, marks easily, and will not survive daily grabbing. The two enamel types most painters reach for are waterborne alkyd enamel and urethane enamel, both water based and cleaned up with soap and water.
| Product type | How it behaves | Examples named by makers |
|---|---|---|
| Waterborne alkyd enamel | Levels smooth, hard finish, long recoat time | Benjamin Moore Advance, in satin, semi-gloss, and high gloss |
| Urethane enamel | Hard finish, faster dry and recoat than alkyd | Sherwin-Williams Emerald Urethane Trim Enamel, in satin, semi-gloss, and gloss |
| Wall paint, any sheen | Stays soft, scuffs and marks, wrong product for cabinets | Do not use on cabinet doors or frames |
Primer choice decides whether the enamel stays on. A bonding primer grips slick and glossy surfaces. A shellac primer blocks stains, knots, and tannin bleed that would show through light colors. Standard wall primer will not bond to a slick cabinet surface, so do not substitute it.
| Primer | Use it when |
|---|---|
| Bonding primer, such as INSL-X Stix or Sherwin-Williams Extreme Bond Primer | Glossy, laminate, thermofoil, or previously painted surfaces that need grip |
| Shellac primer, such as Zinsser BIN | Stained wood, knots, tannin bleed, or old oil based paint under a light color |
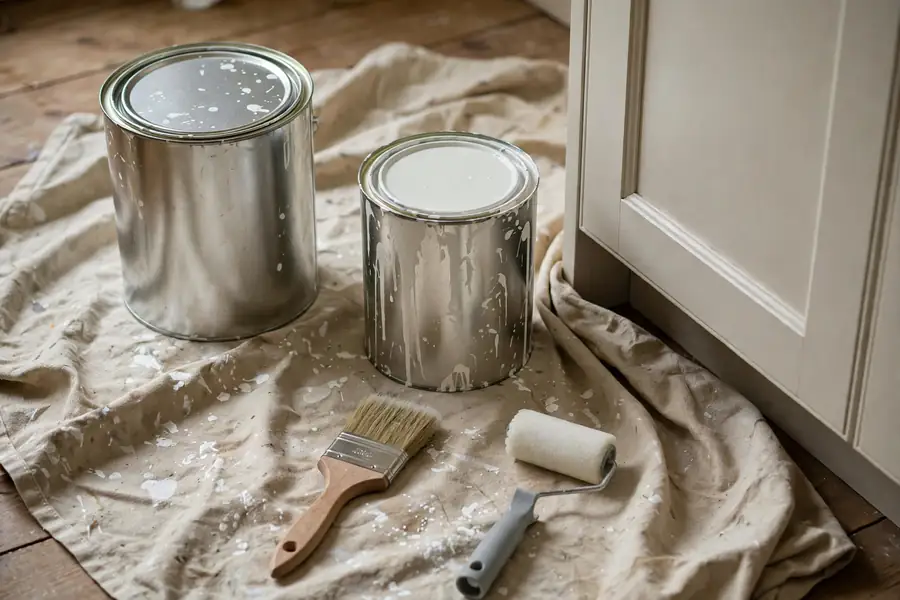
Sheen is a durability choice as much as a look. Satin hides small flaws and wipes clean. Semi-gloss wipes cleaner still and shows flaws more. Flat and eggshell finishes mark too easily for cabinet doors. Match the sheen to the trim in the room if you want the cabinets to read as part of the house, not as a separate project.
How do you prepare kitchen cabinets for paint?
Prep is most of the job, and every skipped step shows in the finish. Work in a ventilated space, wear a respirator when sanding, and keep dust out of the wet paint. If the home was built before 1978, the US Environmental Protection Agency says lead based paint may be present, and it recommends a certified lead inspector or risk assessor test the surfaces before renovation work that disturbs paint. Do not sand old paint until lead has been ruled out.
- Remove every door, drawer front, hinge, knob, and pull. Number each door on a piece of tape inside a hinge hole, and bag the hardware per door, so each piece goes back where it came from.
- Degrease every surface with a cleaner made for paint prep, such as TSP mixed per its label, or a degreaser rated for kitchen grease. Wipe twice with fresh cloths. Sanding alone does not remove grease, wax, or silicone, and paint will not bond to a greasy surface.
- Fill dents, holes, and deep grain with wood filler or spackling compound. Oak grain that you want smooth needs a skim coat worked into the grain, left to dry, then sanded flat.
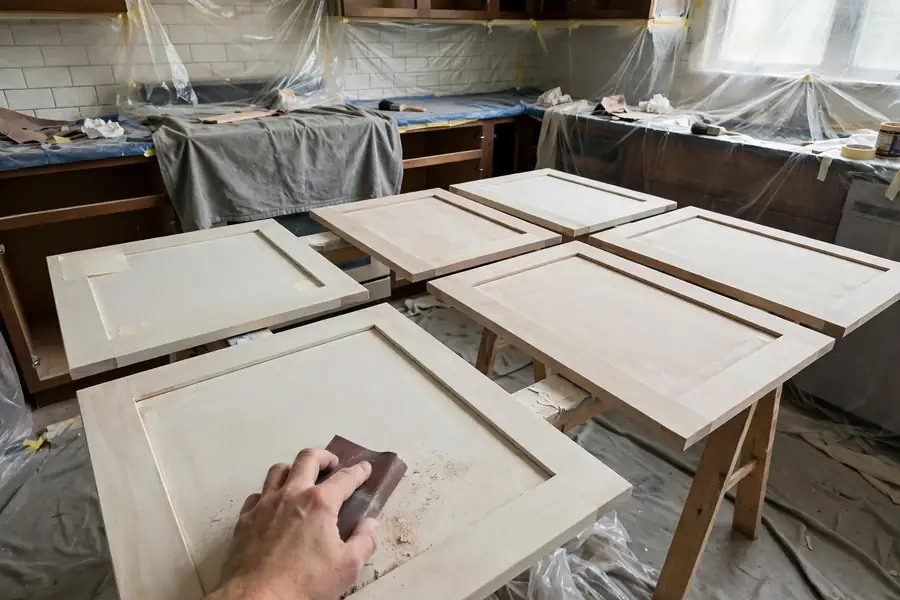
- Scuff sand all surfaces with 150 to 220 grit sandpaper until the sheen is gone and the surface feels uniformly dull. Round no corners and sand no edge to bare fuzz on MDF, which drinks primer and shows through the finish.
- Vacuum all dust, wipe with a damp cloth, then wipe with a tack cloth. Dust left on a surface becomes bumps under the enamel.
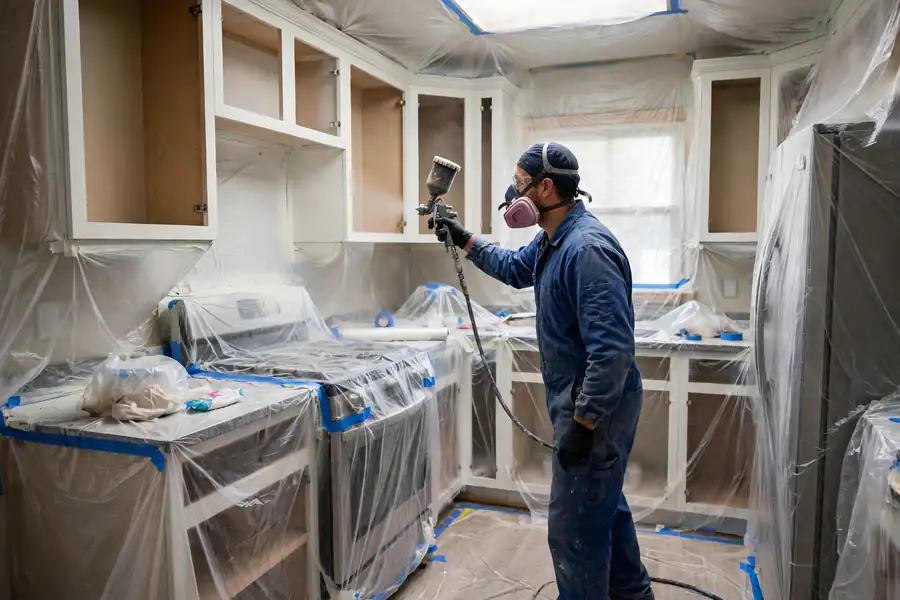
- Mask the kitchen. Cover counters, floors, appliances, and walls around the frames with plastic and tape. If you spray, mask the whole room and ventilate it, because overspray settles on everything it reaches.
How to paint kitchen cabinets step by step?
Work backs first, then fronts, so any learning shows where it will not be seen. Keep coats thin. Two thin coats cure harder and look smoother than one thick coat, which sags, drips, and stays soft. Follow the label on the exact products you bought for dry and recoat times, because the times below are for the named enamels, not for every paint on the shelf.
- Prime all surfaces with one thin coat of the primer matched to the surface. Benjamin Moore's Advance data sheet, read October 27, 2026, calls for full priming on new surfaces and priming or spot priming on previously painted surfaces.
- Let the primer dry per its label, usually overnight. Sand lightly with 220 grit sandpaper to knock down pools, drips, and raised grain. Vacuum and tack cloth the dust off.
- Apply the first thin coat of enamel. Paint the backs of doors first, then the edges, then the faces. On frames, paint the inside edges first, then the faces. Keep a wet edge and do not go back over paint that has started to set.
- Let the first coat dry per its label. For Benjamin Moore Advance, the data sheet gives a 16 hour recoat time. Sand lightly with 320 to 400 grit sandpaper, clean the dust off, and apply the second thin coat the same way.
- Leave the finish alone. Dry to the touch is not cured. Advance needs 5 to 7 days before heavy use and up to 30 days to reach full hardness, per its data sheet. Rehang doors only after the paint is hard enough that a fingernail pressed in a hidden spot leaves no mark, and adjust hinges slowly so a hinge does not bite into soft paint.
- Reinstall hardware last, with a hand screwdriver, not a drill, so a slipping bit does not gouge the new finish.
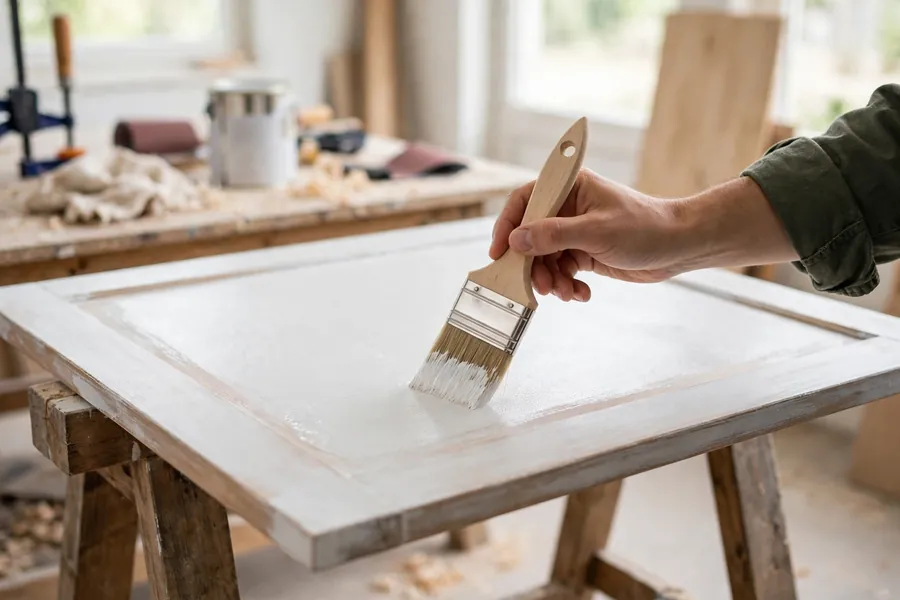
How do you paint kitchen cabinets without sanding?
A no-sand job is possible, but only in narrow cases, and it is not no prep. The honest version of the method is: degrease twice, wipe with a liquid deglosser per its label, and apply a bonding primer rated for glossy surfaces. A deglosser is a chemical clean that removes oil and dulls sheen. It does not cut scratches into the surface, so it does not give the primer the same grip that sanding does.
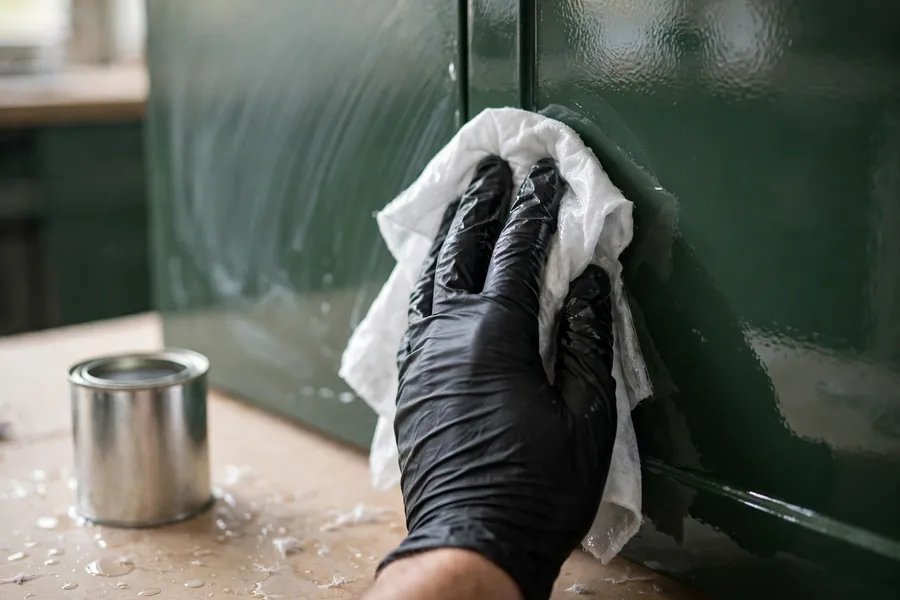
No-sand prep works on a sound, matte, previously painted wood or MDF surface in good condition. It does not work well on high gloss, melamine, or thermofoil, where the surface is a plastic made to shed coatings. On those surfaces, skip the scuff and the primer has nothing mechanical to hold. Before you commit a whole kitchen, test one hidden door: prime and paint a small area, let it cure, score a small grid with a blade, press packing tape hard over it, and rip it off. If squares of paint come away, the bond has failed, and that surface needs sanding or a different plan. A quick scuff sand takes minutes per door and is cheap insurance, so treat no-sand as the exception, not the default.
How do you paint laminate, thermofoil, and MDF cabinets?
Each slick or man made surface fails in its own way, so each needs its own prep. The enamel and the thin coats stay the same. What changes is what happens before the primer.
| Surface | Prep that holds |
|---|---|
| Solid wood, including oak | Degrease, scuff sand, fill grain if a smooth finish is wanted, bonding or shellac primer per stains |
| Laminate and melamine | Degrease twice, scuff until the sheen is uniformly dead flat, vacuum and tack off all dust, bonding primer, tape test before full coats |
| Thermofoil, vinyl film over MDF | Same as laminate if the film is firmly attached everywhere; if it is peeling, strip the film with a heat gun and paint the MDF, or change the doors |
| MDF, bare or with peeling film removed | Seal the raw edges and faces with primer first, because bare MDF soaks up paint; sand lightly between coats and do not over sand edges to fuzz |
| Previously painted cabinets | Degrease, scuff sand, spot prime bare spots and stains, full prime if the old finish is glossy or the color change is dark to light |
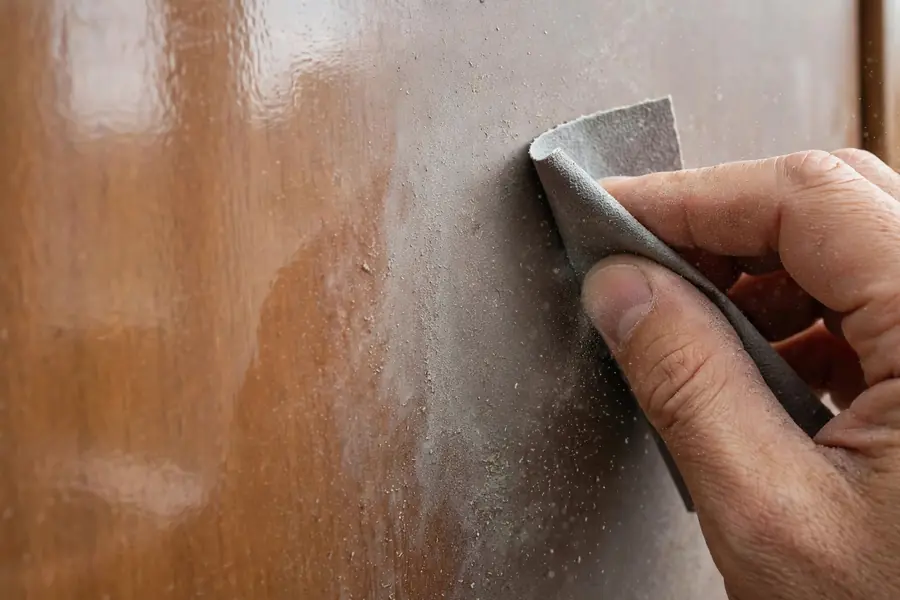
Oak needs one extra note. Its open grain will show through paint unless it is filled. Skim coat the grain with filler, let it dry, sand it flat, and prime again over the filled area. Without that step, the finish will look painted but the grain lines will still read through, which is fine if that is the look wanted, and a flaw if it is not.
How do you spray paint kitchen cabinets?
A sprayer gives the smoothest finish because it lays paint on as a fine mist, with no brush or roller texture. The common choice for cabinets is an HVLP sprayer, high volume low pressure, which puts most of the paint on the door and keeps overspray low. An airless sprayer covers faster and handles thicker paint, but it makes more overspray and is harder to control on small doors. Thin the paint only as the sprayer maker and the paint label direct, test the pattern on cardboard or scrap wood, and keep the gun moving at a steady distance, about 6 to 12 inches from the surface.
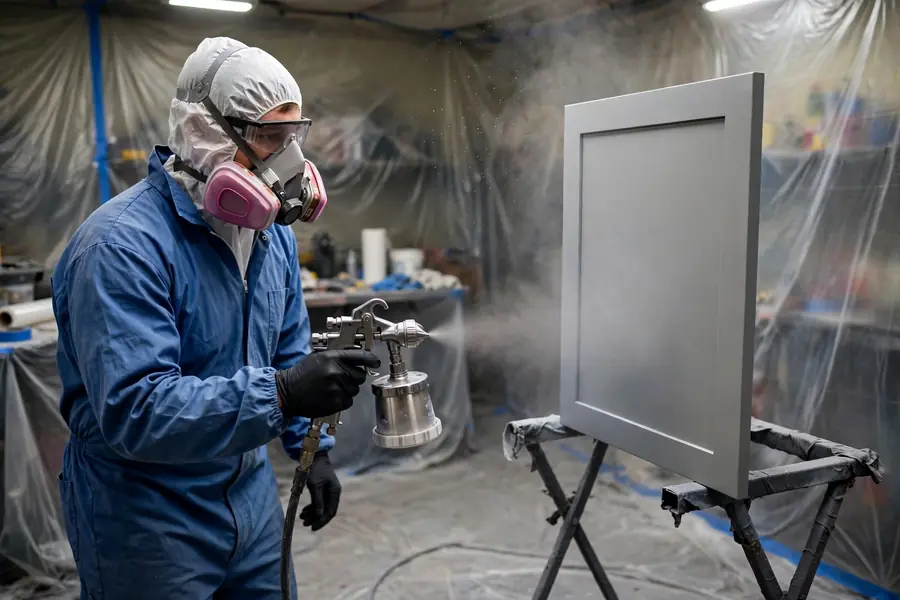
Set doors on stands or pyramids in a clean, ventilated space, and spray backs first, then edges, then faces, starting and stopping each pass past the edge of the door. Mask the frames in the kitchen if the frames are sprayed, or paint the frames by hand and spray only the doors. A sprayer still needs the same primer, the same thin coats, and the same cure time. It changes only how the paint lands.
If you do not spray, use a high density foam roller or a low nap mohair roller on flat panels, and a fine finish brush only for edges, recesses, and profiles. Brush the detail first, then roll the flat area at once and feather the roller over the brushed work to blend the texture. Roll slowly to avoid splatter, and do not reload the roller for the final leveling pass. The finish will carry slight texture, which reads fine in satin sheen and at normal kitchen distance.
How long does it take to paint kitchen cabinets?
Most of the time is waiting, not painting. With Benjamin Moore Advance, the 16 hour recoat time alone puts two coats on consecutive days, and the 5 to 7 day cure before heavy use sets the end of the job. A realistic plan, using Advance times, runs about 10 days from the first wipe-down to doors back in full service.
| Stage | Time |
|---|---|
| Remove, label, degrease, fill, scuff sand, and mask | 1 to 2 days |
| Prime, dry overnight, sand, and clean | 1 to 2 days |
| First enamel coat, dry 16 hours, sand, and clean | 1 to 2 days |
| Second enamel coat and light handling only | 1 day, then 24 to 48 hours before careful handling |
| Cure before heavy use, cleaning, and scrubbing | 5 to 7 days after the last coat, up to 30 days for full hardness |
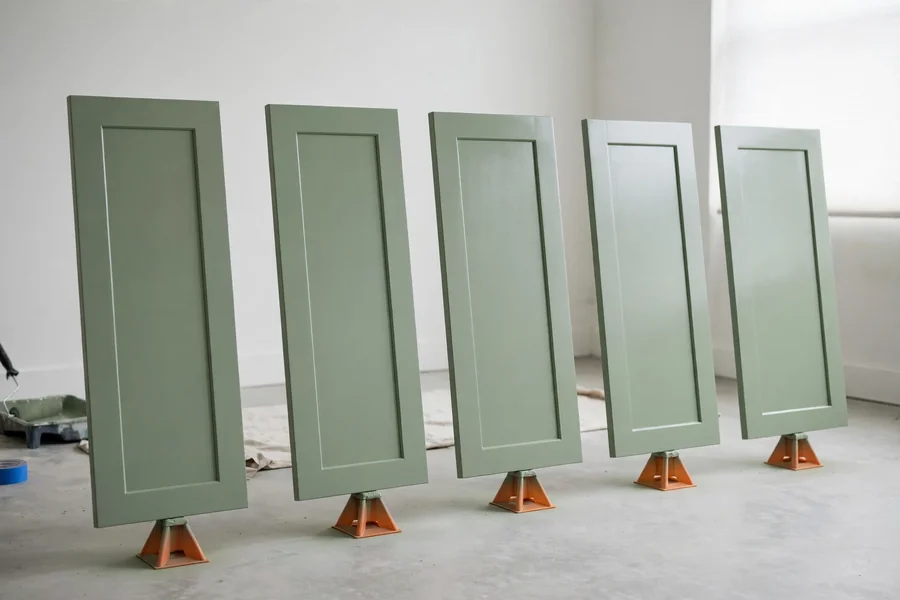
Urethane enamels dry and recoat faster, so a job using Sherwin-Williams Emerald Urethane Trim Enamel can run a few days shorter, but the cure still runs in weeks, not hours. Do not stack dishes, hang towels, or tape anything to a fresh finish in the first week. Heat and humidity slow curing, so a cold or damp room needs more time, not less.
How much does it cost to paint kitchen cabinets?
Angi's cost data, updated September 8, 2026 and drawn from 13,847 verified projects, puts professional cabinet painting at $425 to $1,466, with most homeowners paying around $942. The same data puts a small DIY effort as low as $180 and a large professionally painted kitchen as high as $3,200. Costs move with kitchen size, door and drawer count, door style, surface condition, color change, and whether hardware is replaced, which is a separate cost from the painting.
A DIY job costs materials only, about $200 to $600 for primer, enamel, sandpaper, filler, tape, plastic, and brushes or rollers in the 2026 guides reviewed. A sprayer adds rental or purchase cost. Grain filling on oak, peeling thermofoil repair, and dark to light color changes add hours, and labor is most of a professional price, so get more than one written quote and ask each painter what prep, primer, paint, coats, and cure time the price covers. No national retailer publishes a single standard price for this job, so a quote for the exact kitchen is the only figure that counts.
What mistakes make cabinet paint peel or chip?
Peeling almost always traces back to the surface, not the paint. Grease left under primer lets the whole film lift. A bonding primer skipped on a slick surface leaves the enamel with nothing to hold. One thick coat traps solvent, sags, and stays soft under a skin that looks dry. Putting doors back and loading shelves before the cure finishes presses hardware and dishes into soft paint, which then sticks, dents, and chips. Wall paint on doors, or a flat sheen on a surface hands grab, wears fast no matter how careful the prep was.
Two more mistakes show up later. Painting over peeling thermofoil, loose veneer, or failing old paint locks the failure in, and the new finish lifts with the old layer. Sanding without checking for lead in a pre-1978 home spreads a hazard that a test would have caught. Each of these is avoidable with the prep and cure steps above, and each is far harder to fix after the finish is on than before it.
When should you hire a professional instead?
Hire a professional when the job needs shop conditions or skills the kitchen cannot give it. Peeling thermofoil, lead paint, a large kitchen with 30 or more doors, and a spray finish with no safe place to spray all favor a pro. A pro also makes sense when the timeline is tight, because a sprayed job with a crew finishes in 3 to 7 days of work, against about 10 days for a DIY job on Advance times.
If you know how to paint kitchen cabinets and still hire the work out, that is a sound call for a kitchen you use every day, not a failure of skill. Ask the painter for the prep sequence, the primer and enamel by name, the number of coats, the cure time before rehanging, and whether the price covers hardware removal and reinstallation. Get it in writing, and check recent cabinet work in person if you can, because a cabinet finish is judged at arm's length, every day. The Kitchen chapter gathers more guides on kitchen surfaces and finishes as they are published, including How to Sharpen Kitchen Knives for the tools that work on the counters those cabinets hold.
Quick answers to common questions
Should you paint the inside of kitchen cabinets? Usually no. Paint the frames, door exteriors, and drawer fronts, and leave sound interiors alone. Paint an interior only if it is worn, stained, or mismatched, and use the same enamel, with extra dry time, because air moves poorly inside a closed box.
Can you paint kitchen cabinets without taking the doors off? You can, but the finish will be weaker. Doors left in place cannot be painted on the backs or edges, paint pools at hinges, and a door can stick to a frame that is still soft. Masking takes nearly as long as removal. Remove the doors for the best result.
How do you touch up chipped paint on kitchen cabinets? Clean the chip, sand it lightly with fine sandpaper, wipe the dust off, and spot prime bare wood or primer. Brush on a thin coat of the same enamel, feathering the edge into the sound paint, and let it cure fully before cleaning the spot. A thick dab of paint will show as a bump.
What is the best color for kitchen cabinets? The color that suits the light, counters, and floor in the room. White and light colors brighten a dark kitchen and show wear sooner. Dark colors hide wear and make a large kitchen feel smaller. Test a sample board in the kitchen at morning and evening light before buying gallons, because a color on a store card will not match the room.
How long does a painted cabinet finish last? With full prep, a bonding primer, cabinet enamel, and a full cure, a professional finish typically lasts 5 to 8 years, and a DIY finish 2 to 4 years, per the 2026 cost guides reviewed. Grease, heat beside a stove, and scrubbing before the cure ends shorten that life. Touch ups and gentle cleaning extend it.