A grill on a patio is not yet a kitchen. The change happens when you add a steady counter on both sides of the grill, a place to wash or wipe hands, storage that stays dry, and shade or a roof over the cook. This guide to outdoor kitchen ideas sets out the layouts, materials, and costs that hold up outside, so you can pick a build that fits your patio, your climate, and your budget, and skip the parts that look good in a photo and fail in rain.
Outdoor kitchens at a glance
| Build | What you get | Typical 2026 cost | Best for |
|---|---|---|---|
| Freestanding grill and cart | A grill, a prep cart, and a small table | $1,000 to $3,000 | Renters and first tries |
| Prefab kit on an existing pad | A grill island with storage, assembled from a kit | $1,500 to $6,000 | A fast build on concrete that already exists |
| Built-in island | A masonry or steel frame island with a built-in grill and counter | $3,000 to $10,000 | A permanent grill station |
| Custom L-shaped or U-shaped kitchen | More counter, a sink or fridge, and bar seating | $10,000 to $20,000 | Regular cooking and hosting |
| Full custom kitchen | Several appliances, a pizza oven, a bar, and a roof | $20,000 to $50,000 or more | A second kitchen used most weeks |
Which outdoor kitchen ideas fit a small space?
A straight run along one wall or fence fits a small patio best, because it keeps the grill, the prep counter, and the storage in one line and leaves the rest of the patio open. A run of 6 to 8 feet holds a 30 inch grill, about 24 inches of landing space on each side of it, and one drawer unit, and it still needs 36 inches of clear floor in front for the cook to step back safely.
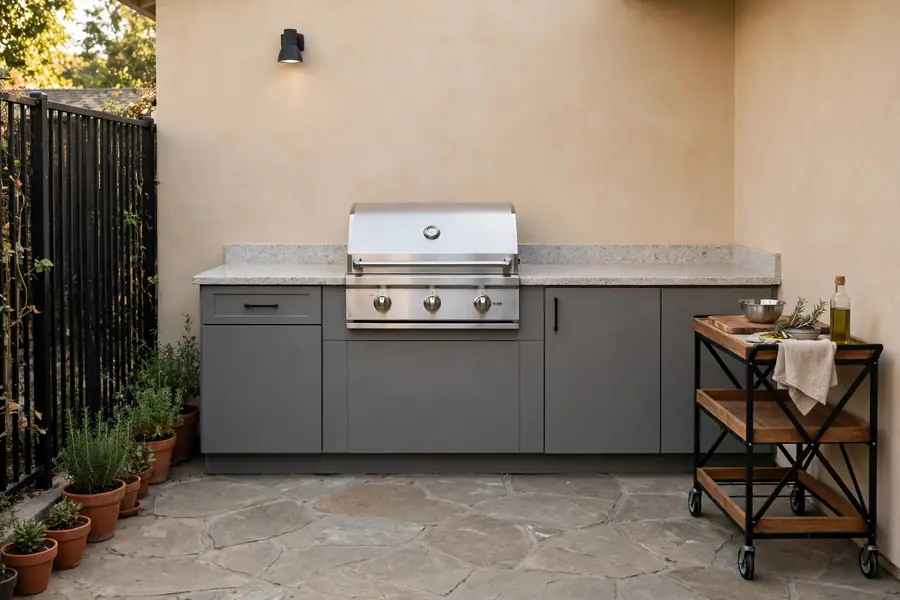
A galley layout, with two short runs facing each other, suits a narrow patio only when at least 48 inches remain between the runs, so two people can pass without brushing a hot grill. An L-shaped island needs a corner that does not block a door swing or a path to the yard, and a U shape needs a patio at least 10 feet wide, or the inside of the U turns into a trap when guests gather. On a small deck, check the deck load rating before you add stone, concrete, or a masonry island, since a built-in island can weigh far more than a freestanding grill, and a deck built for foot traffic may need a structural check.
Small spaces work better with vertical storage, a fold-down side shelf, and a grill with side shelves that fold flat, than with extra base cabinets that eat floor space. A rolling prep cart can serve as the second counter during a cookout and roll against a wall after, and a wall-mounted rack keeps tongs, towels, and a thermometer off the counter. Keep one clear path from the back door to the grill, with nothing stored across it, so carrying a tray of raw meat never means stepping around a cooler or a planter.
How much does an outdoor kitchen cost?
Most built outdoor kitchens cost $6,350 to $26,900, according to Angi cost data updated May 3, 2026, and a separate Angi hiring guide updated July 31, 2026 puts the average at $16,475, with most projects from $6,310 to $26,925. A basic freestanding setup can start near $1,000, and a luxury build can pass $60,000, according to Angi 2026 cost data read October 27, 2026. The spread comes from size, materials, appliances, and how far gas, water, and power must travel from the house, not from the grill alone.
| Part of the build | Typical 2026 cost | What moves the price |
|---|---|---|
| Grill | $1,500 to $7,500 | Size, fuel, and brand |
| Countertops | $1,000 to $5,000 | Material and length of the run |
| Cabinets and storage | $2,000 to $8,000 | Stainless steel, polymer, or masonry |
| Other appliances | $1,500 to $10,000 | Fridge, sink, side burner, pizza oven |
| Plumbing and gas | $500 to $2,500 | Distance from the house and trenching |
| Electrical and lighting | $800 to $3,000 | Outlets, lighting, and a vent hood circuit |
| Labor | $3,000 to $10,000 | Custom work and local rates, at $50 to $150 per hour |
| Design | $500 to $3,000 | A measured plan versus a kit layout |
A roof, a pergola, or a new patio sits outside those lines and can add several thousand dollars on its own, so price the cover and the base before you pick appliances. Permits for gas, electrical, and plumbing work add a few hundred dollars in many towns. Get three written quotes that list each part separately, and treat any quote that gives only one total with no breakdown as a quote you cannot compare.
What layout fits the space and the way you cook?
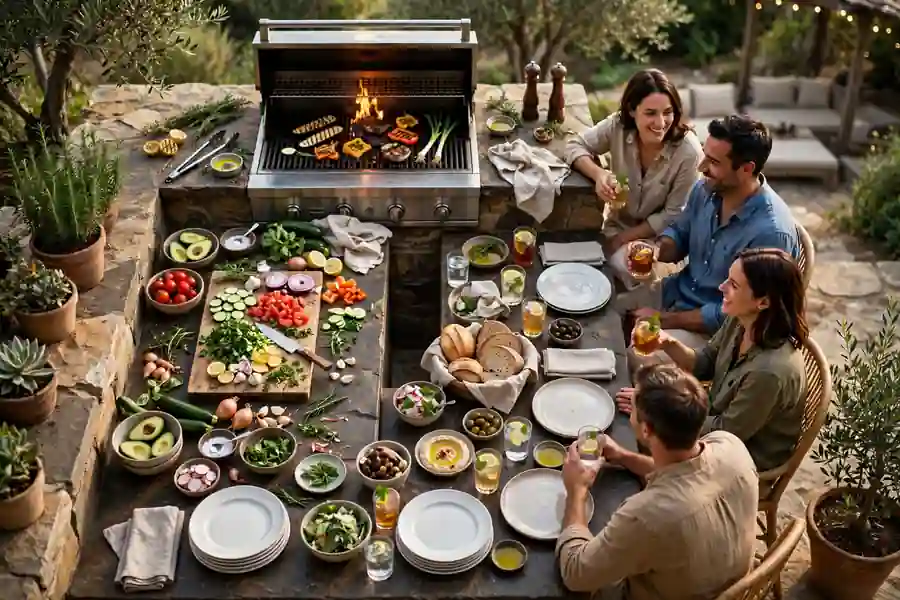
Pick the layout from the cooking order, not from a photo. The cook needs a hot zone, a prep zone, and a serving zone in that order, with landing space beside the grill for a tray, and with guests kept on the serving side, away from the hot zone. A straight run puts those zones in a line and suits one cook. An L shape separates cooking from prep around a corner and suits two cooks. A U shape adds the most counter and suits a large patio with a fixed dining spot in the middle, but it needs room for people to enter and leave without crossing behind the grill.
| Layout | Footprint | Work zones | Watch out for |
|---|---|---|---|
| Straight run | 6 to 10 feet long | Grill, prep, and storage in one line | Too little landing space beside the grill |
| L shape | 8 by 8 feet or more | Cooking on one leg, prep on the other | A corner that blocks a door or path |
| U shape | 10 feet wide or more | Cooking, prep, and serving on three sides | Guests trapped inside the U |
| Galley | Two runs, 48 inches apart | Cooking on one side, prep on the other | A gap too narrow for two people |
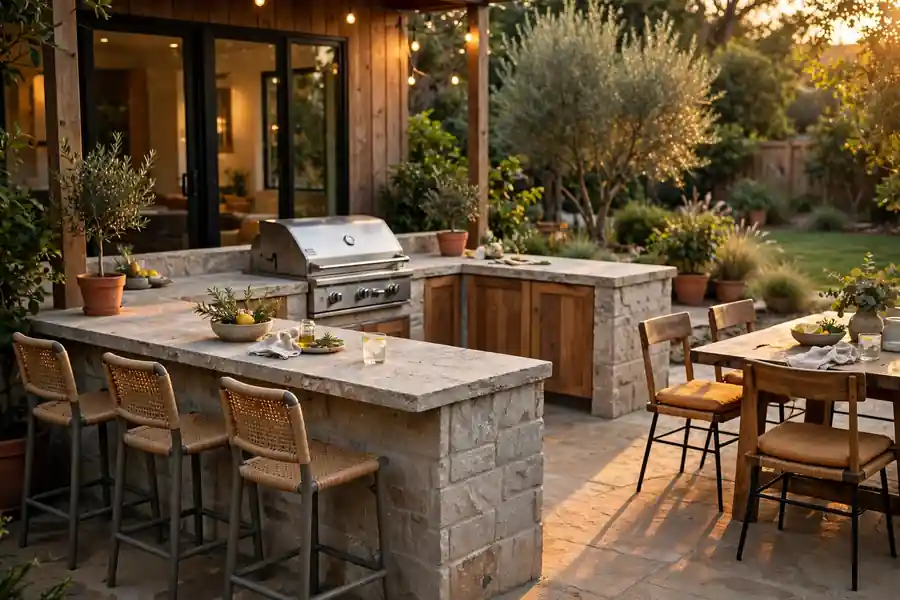
| Island with bar | Island plus 12 to 18 inches of bar overhang | Cooking inside, seating outside | Stools in the cook's step-back space |
Leave at least 36 inches of clear floor behind the cook, and 48 inches where guests pass behind bar stools. Put the sink between the prep counter and the grill when plumbing allows, so hands and tools get washed without a trip across the patio. Put a fridge at the serving end, near the dining table, so guests reaching for drinks never cross the hot zone. Tape the layout on the patio with painter's tape and stand in it with the grill lid open before you order anything, since a layout that looks fine on paper often feels tight once the lid swings up.
What countertop holds up outside?
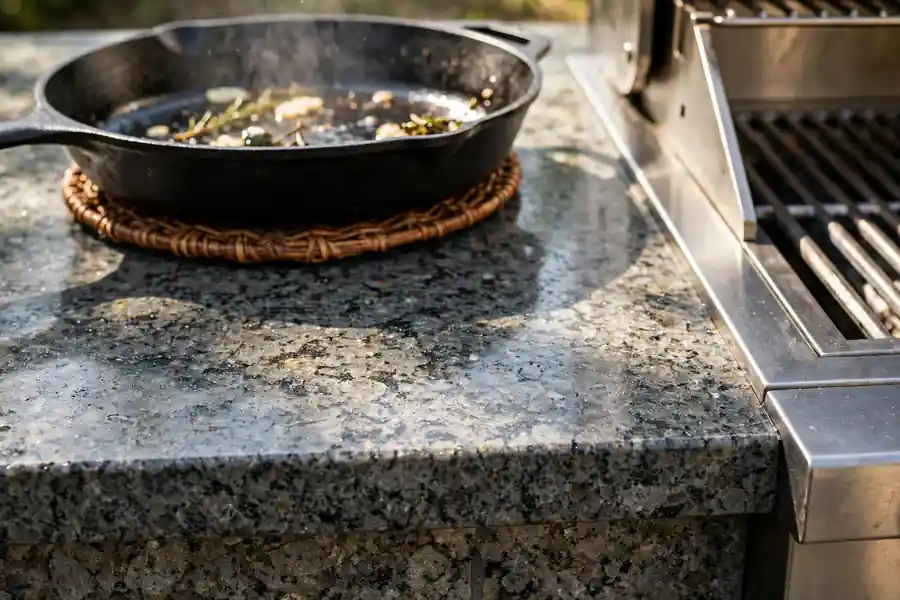
Granite, sealed concrete, and porcelain slab hold up best outside, because they take heat, rain, and sun without warping, and they clean with soap and water. Porcelain slab resists stains and fading and needs no sealing, while granite needs sealing on a schedule the stone supplier states, and concrete must be sealed when installed and resealed on a regular schedule, or it stains and chips. Tile costs less and offers the widest choice of looks, but grout stains even when sealed, so choose a dark grout, and choose freeze-proof porcelain tile rather than ceramic in a cold climate, since the freeze and thaw cycle can crack tile and grout.
| Countertop | Heat and sun | Stains and water | Upkeep |
|---|---|---|---|
| Granite | Takes hot pans well | Sealed granite resists stains | Reseal on the supplier's schedule |
| Sealed concrete | Takes heat well | Stains without a sound seal | Seal at install, reseal regularly |
| Porcelain slab | Resists heat and fading | Resists stains, needs no sealing | Wash with soap and water |
| Tile | Takes heat well | Grout stains, even sealed | Scrub grout, check for cracked tiles |
| Stainless steel | Takes heat well | Shows fingerprints and water marks | Wipe down after use |
HGTV countertop guidance read October 27, 2026 advises against marble, quartz, and laminate outside. Marble and quartz stain and suffer under extreme heat, limestone and bluestone are more delicate than granite, and laminate has a particleboard core that warps and rots in wet weather. A hot pan straight from the grill belongs on a trivet on any surface, even a heat-tolerant one, since repeated direct heat can mark a seal or a finish over time. Order the counter from the grill cutout measurements in the grill maker's manual, and cut the opening only after the grill is on site, since a cutout that is a quarter inch off can leave a grill that does not sit flush.
What cabinets and frames survive weather?
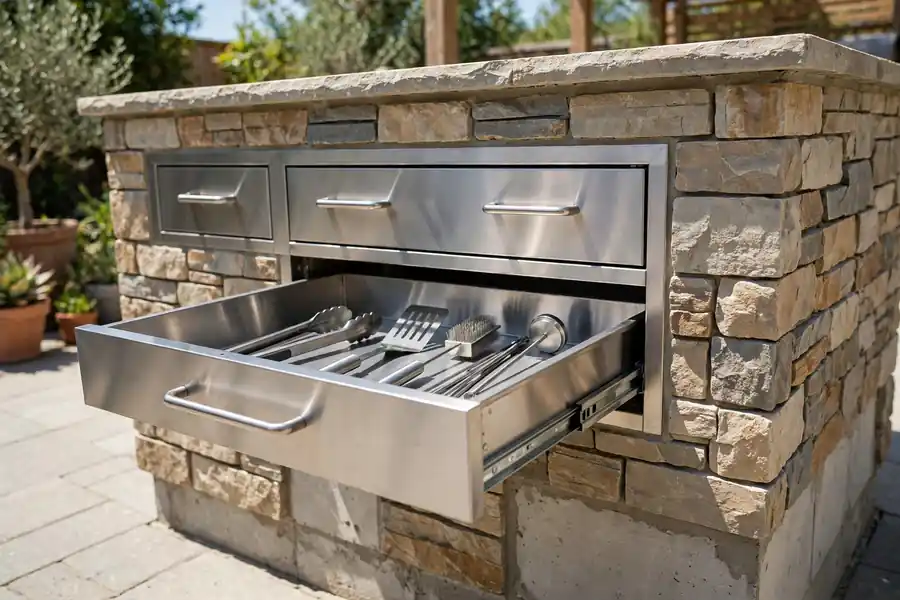
A frame of masonry block, steel studs with cement board, or welded aluminum survives weather, while a frame of indoor wood studs and drywall does not, since trapped moisture rots wood and crumbles drywall from inside the island. Clad the frame in stucco, stone veneer, brick, or tile, and leave the inside dry by capping the counter overhang and sealing joints where water can enter. Stainless steel cabinets, marine-grade polymer cabinets, and powder-coated aluminum cabinets all hold up outside, with stainless steel costing the most and polymer costing less while still resisting rust, dents, and insects.
An enclosed island that holds a propane tank needs vents at the bottom and the top of each side and the back, sized to the grill maker's manual, so leaking gas can escape instead of pooling inside the island. One grill maker's manual read October 27, 2026 calls for at least three 10 square inch openings at the bottom and three 20 square inch openings at the top of the enclosure. Never store a spare propane tank inside an island or near a grill, and never seal an island tight around a tank. Drawers with soft-close slides keep tools dry and stop doors from swinging in wind, a pull-out bin keeps trash and recycling out of sight, and a dedicated slot for a propane tank keeps the tank upright and away from heat. Soft goods, cushions, and paper goods belong in sealed bins indoors, not in an island drawer, since humidity reaches every unsealed space outside.
Which grill and appliances should you build around?
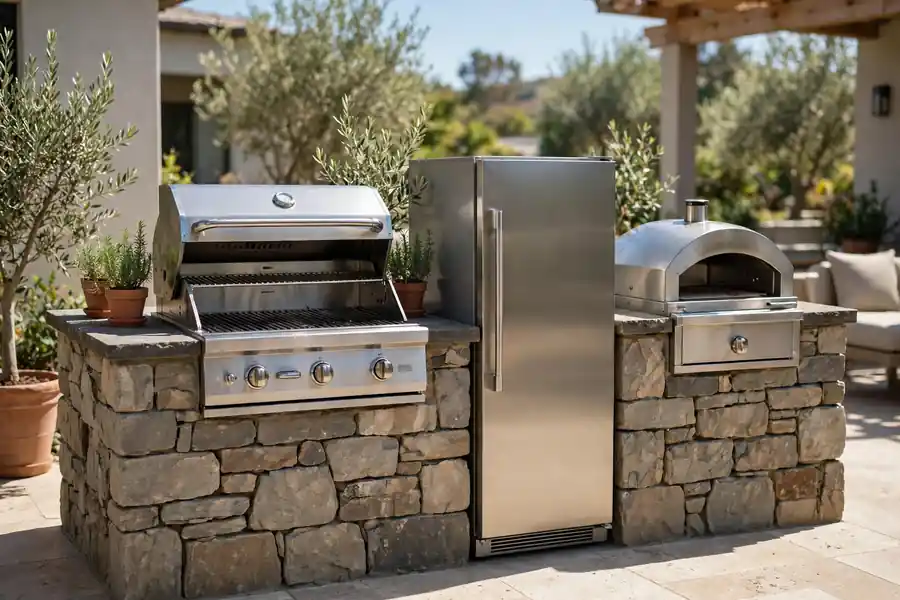
Build around the fuel you will actually use every week. A gas grill heats fast and holds a steady heat, charcoal gives a smokier flavor and needs more cleanup and a safe place for hot ash, a pellet grill holds a set temperature with less tending, and a flat-top griddle cooks breakfast foods, smash burgers, and vegetables that would fall through grill grates. A built-in grill drops into a cutout in the island and looks fixed, while a freestanding grill on wheels can move for cleaning and for winter storage, and it suits a first outdoor kitchen better than a built-in that cannot move once the counter is cut.
An outdoor refrigerator must be rated for outdoor use. An indoor mini fridge is not built for outdoor heat and humidity, and it fails sooner outside than it would indoors, so the money saved at purchase is lost on an early replacement. A sink needs a water feed and a drain that meets local plumbing rules, and a side burner, a pizza oven, and a smoker each add a second cooking method that only earns its place when you cook that way at least monthly. Phase the extras: build the island with the space, the gas stub, and the outlet for a fridge or a pizza oven, and add the appliance in a later season, rather than buying every appliance before you know how you cook outside. Measure the cutout, the lid swing, and the rotisserie motor clearance from the maker's manual for the exact grill you buy, and keep that manual with the house papers for the next owner.
How do you cover an outdoor kitchen?
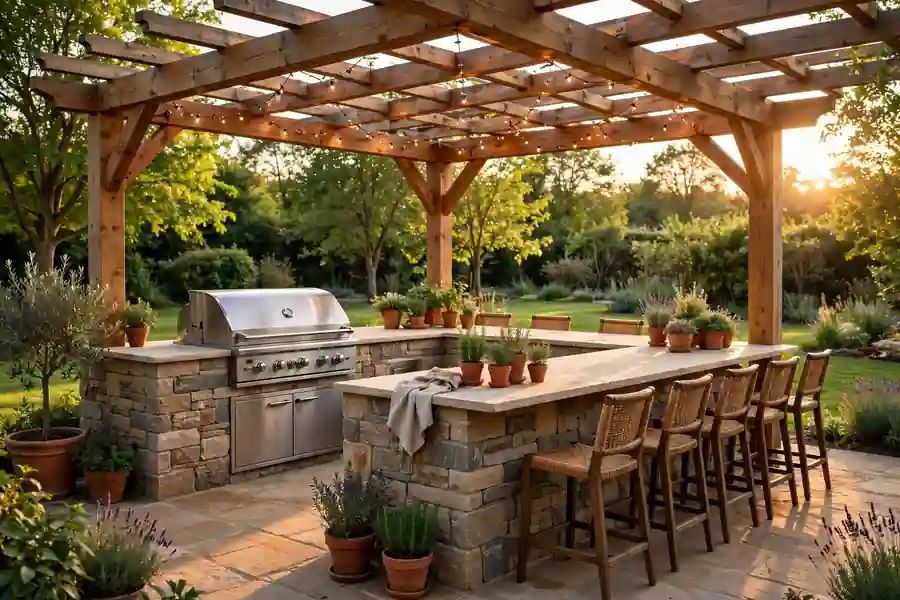
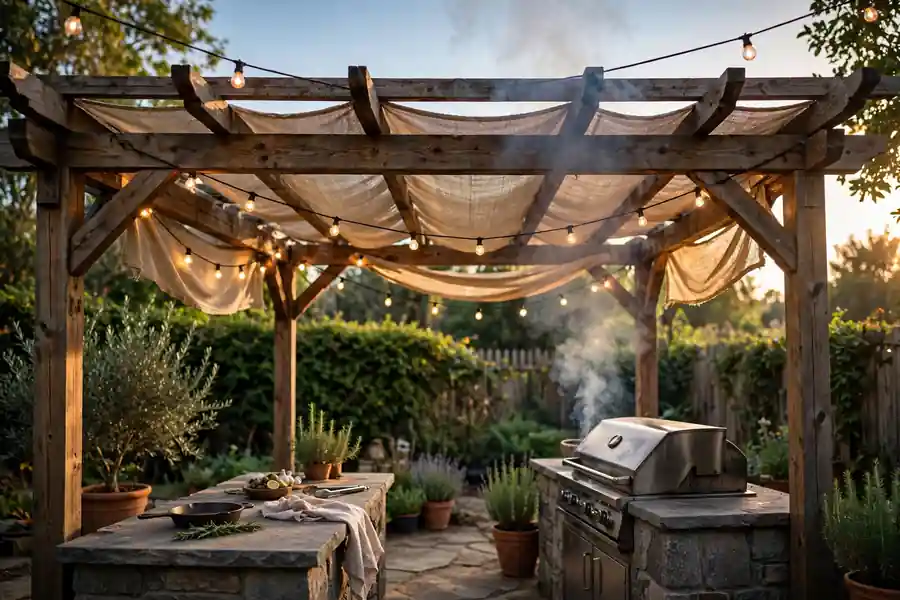
A cover decides how many months a year the kitchen gets used. A pergola gives shade and defines the space, but it does not stop rain, so the grill and the counter still get wet and need covers. A solid roof, a pavilion, or a gazebo stops rain and keeps the cook dry, but it traps smoke and heat, so it needs a vent hood rated for outdoor use when the roof or any part above the grill can burn. A retractable awning gives shade on demand and folds away in a storm, and a screened porch or lanai keeps insects out while still needing ventilation and a grill set back from the screen.
| Cover | Rain cover | Shade | Hood and clearance note |
|---|---|---|---|
| Pergola | None, rain passes through | Good, with slats or a shade cloth | Hood not needed in open air, check the grill manual |
| Solid roof or pavilion | Full | Full | Outdoor-rated hood needed under a combustible roof |
| Gazebo | Full, within its footprint | Full | Hood needed, and the grill must fit the footprint with clearance |
| Retractable awning | Light rain only, retract in wind | Good, on demand | Keep the awning clear of grill heat and smoke |
| Screened porch or lanai | Full, within the screen | Good | Ventilation first, grill set back from the screen |
A roof must be built for local snow load in a cold climate and for wind load in a storm-prone area, and its posts must sit on footings, not on a thin patio slab alone, so a structural check comes before the roof goes up. String lights and a ceiling fan suit a solid roof, while a pergola suits lights hung from its beams, and any light or fan over a grill must sit clear of heat and smoke. A cover that sits too low traps smoke at face height, so keep the underside of the cover high enough for smoke to rise clear, and follow the grill maker's stated clearance to the cover.
How do you build a DIY outdoor kitchen on a budget?
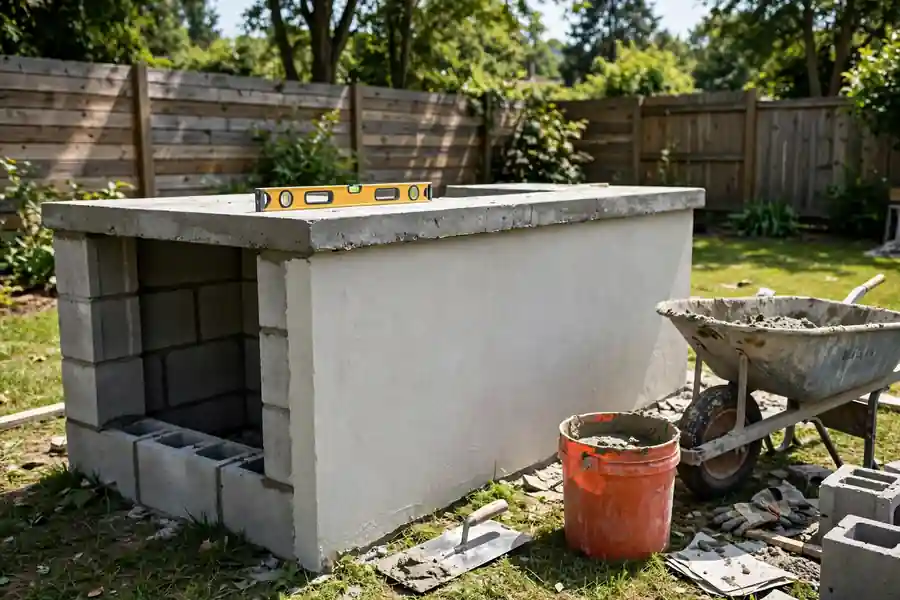
The cheapest sound build starts with a pad that already exists, a simple straight layout, and a propane grill, since a new patio, a gas line, and a custom island are the three costs that push a budget build past $5,000. A cinder block base, finished with stucco or stone veneer, costs less than a welded frame and holds a concrete or tile counter well, and a prefab kit on an existing concrete pad can start near $2,000 and be assembled in a weekend. Reclaimed stone offcuts make a small side counter or a shelf, and a stainless steel catering table makes a sturdy prep surface that moves indoors for winter.
- Mark the layout on the pad with tape and stand in it with the grill lid open.
- Decide fuel first: propane avoids a gas line, natural gas avoids tank swaps and needs a licensed gas fitter.
- Build the frame and the counter, and check the counter is level in both directions.
- Set the grill in its cutout only after the counter is cured and sealed.
- Add storage, lighting, and covers last, once the cooking setup works.
Keep the build to work you can do safely: framing, cladding, tile, and assembly. Gas lines, electrical circuits, plumbing, and any roof structure need a licensed professional, and a permit check comes before the first cut, not after the frame is up. Buy the grill last in the sequence, after the cutout is measured from the manual, since a grill bought early often sets a cutout that the counter cannot match. A budget build that skips the cover, the sink, and the fridge still cooks well, and each of those can be added in a later season without rebuilding the island.
What lighting, seating, and storage make it usable after dark?
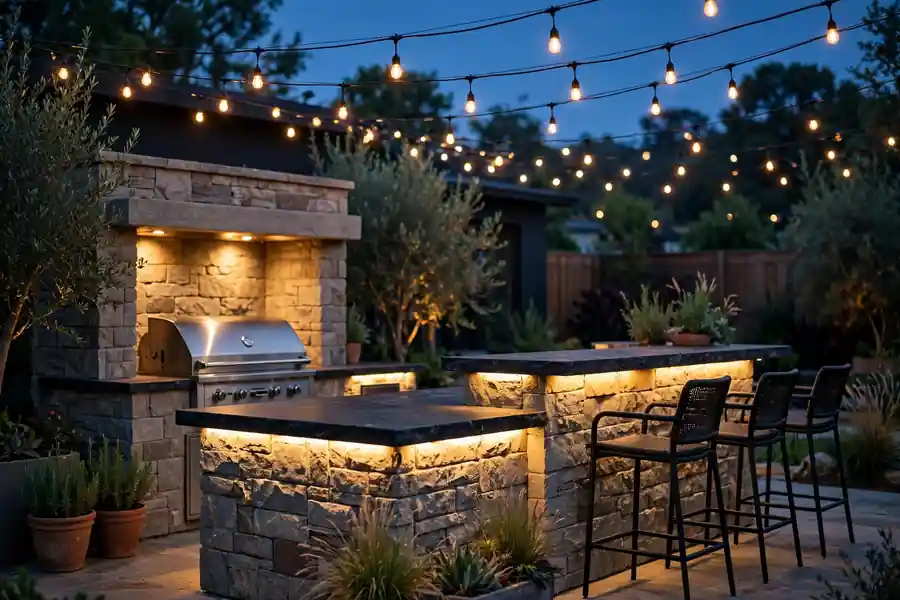
Task light over the grill and the prep counter matters more than decorative light, since a cook who cannot see the color of meat or the state of a sauce will overcook it. Put a fixed light over each work surface, add under-counter strip lights for the serving side, and keep decorative string lights dimmable and clear of grill heat, so the space can shift from cooking light to dinner light without a second set of fixtures. All outdoor outlets and circuits must be ground-fault protected, and lights and outlets near a sink need the same protection, installed by a licensed electrician.
Bar seating works at two heights: a standard counter at 36 inches with stools that leave about 12 inches of leg room under the counter, and a raised bar at 42 inches with taller stools and 12 to 18 inches of knee space under the overhang. Allow 24 inches of counter width per stool, and keep stools off the cook's side of the island, so guests sit where food is served, not where the grill lid swings. Storage that stays dry decides whether the kitchen gets used: sealed drawers for tools, a rack for tongs and towels within arm's reach of the grill, a pull-out bin for trash, and a covered bin for pellets or charcoal kept away from rain. Covers for the grill and for any fridge or pizza oven go on after the surfaces cool, and cushions come indoors, since no outdoor fabric stays dry through a season of rain left uncovered.
What permits and clearances must you check before you build?
Check with your local building department and your homeowners association before you build, since rules differ by town, and a permit exemption for the island itself is not an exemption for gas, electrical, or plumbing work. A gas line, a new circuit, a water line, and a roof structure each commonly need their own permit and inspection, and a licensed professional must do the gas, electrical, and plumbing work, since a leak or a fault outside can go unnoticed until it causes a fire. Setback rules, utility easements, and septic field locations can also limit where an island and a roof may sit, so a call to the building department and a check of the property survey come before the layout is fixed.
Clearances come from the grill maker's manual, not from a photo, and they differ by model. Coyote grill guidance read October 27, 2026 requires at least 24 inches of clearance from any combustible material in any direction, an outdoor-rated vent hood at least 30 inches above the cooking surface and at least 6 inches wider than the grill frame when a grill sits under combustible material, and an insulated jacket when a grill sits within 24 inches of combustible island framing. Lynx grill guidance read October 27, 2026 requires an outdoor-rated exhaust hood of at least 1,200 cubic feet per minute under combustible overhead construction, with 3 to 6 inches of overhang on exposed sides. Never use an outdoor grill inside a house, a garage, or an enclosed porch, since the carbon monoxide risk is the same indoors whatever the grill burns, and never store fuel, paper, or cleaning chemicals beside a hot grill.
How do you protect an outdoor kitchen through winter and near salt water?
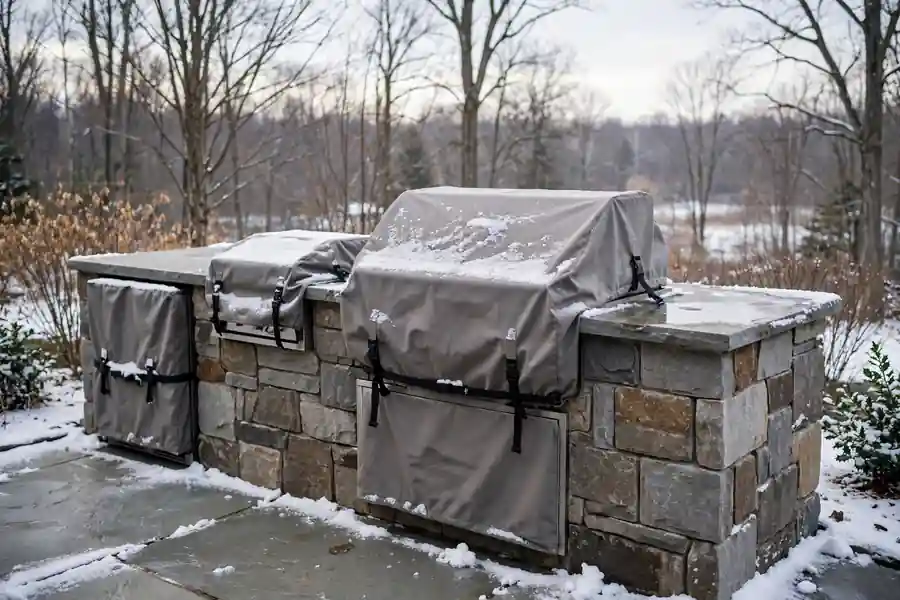
Fitted, breathable covers protect each appliance better than a single tarp, since a tarp traps moisture against steel and stone, while a fitted cover sheds rain and still lets damp air out. Put covers on only after surfaces cool, strap them against wind, and lift them on a dry day through winter to check for trapped moisture, nests, or rust starting at a joint. Before the first freeze, drain water lines and have a professional blow out any line that cannot drain by gravity, using a frost-free sill cock and a blow-out valve where the plumbing design provides them, since water left in a line can split a pipe or a sink trap.
In a cold climate, choose freeze-proof porcelain tile, seal stone and concrete before winter, and clear snow from a roof rather than letting it load one side, since a roof built for snow still needs its load kept even. Near salt water, choose 316 marine-grade stainless steel for the grill, the cabinets, and the hardware, since standard 304 stainless steel can show surface rust in salt air, according to 2026 all-weather design guidance read October 27, 2026. Rinse salt spray off surfaces with fresh water through the season, and choose marine-grade polymer or powder-coated aluminum cabinets where steel would sit in constant spray. A kitchen that is covered, drained, and rinsed on a schedule lasts far longer than one left open to the season, whatever its price.
Start with the grill, the counter, and the cover
The order that avoids waste is simple: fix the layout on the patio, pick a counter and cabinet material that suits your climate, and settle the cover before you buy appliances. That order keeps the grill cutout, the vents, and the hood in the plan from the start, instead of forcing them in after the counter is set. The Kitchen chapter gathers the indoor guides that pair with this one, and the next step after this guide is a measured tape layout on your own patio, with the grill lid open and a stool in place, before any order is placed. Any reader weighing these outdoor kitchen ideas against a tight budget should start with a straight run, a propane grill, and a concrete or tile counter, and add the sink, the fridge, and the roof in later seasons.
Quick answers to common questions
Do you need a permit for an outdoor kitchen? It depends on the work, not on the name. A freestanding grill and cart usually needs no permit, while a gas line, a new circuit, a water line, and a roof structure commonly need permits and inspections. Check with your local building department before you build, and keep the permit and inspection papers with the house records.
Can you put an outdoor kitchen on a deck? Yes, when the deck can carry the load. A freestanding grill and a cart suit most decks, while a masonry island, a stone counter, and a roof need a structural check, since their weight can exceed what a deck built for foot traffic was rated for. Keep the grill clear of rails and siding, follow the grill maker's clearances, and never place a grill under a combustible deck cover without an outdoor-rated hood.
What is the cheapest way to build an outdoor kitchen? Start with a pad that already exists, a straight layout, a propane grill, and a cinder block base finished with stucco or stone veneer, with a concrete or tile counter. A prefab kit on an existing pad can start near $2,000. Skip the gas line, the sink, and the fridge at first, and add them in later seasons, since each one adds a utility cost that dwarfs the frame.
Can you leave an outdoor kitchen uncovered? Yes, when every part is rated for outdoor use and covered between cooks. Granite, porcelain, stainless steel, and polymer cabinets take rain, but a grill, a fridge, and a pizza oven still need fitted covers, and cushions and paper goods must come indoors. An uncovered kitchen gets used fewer months in a rainy or snowy climate, so a pergola or a solid roof is the upgrade that adds the most use.
Can you use an indoor refrigerator outside? No, not as a lasting setup. An indoor fridge is not built for outdoor heat, humidity, and temperature swings, and it fails sooner outside than it would indoors. Buy a refrigerator rated for outdoor use, keep its vents clear, and shade it from direct sun, since a fridge in full sun works harder and cools less well on a hot day.