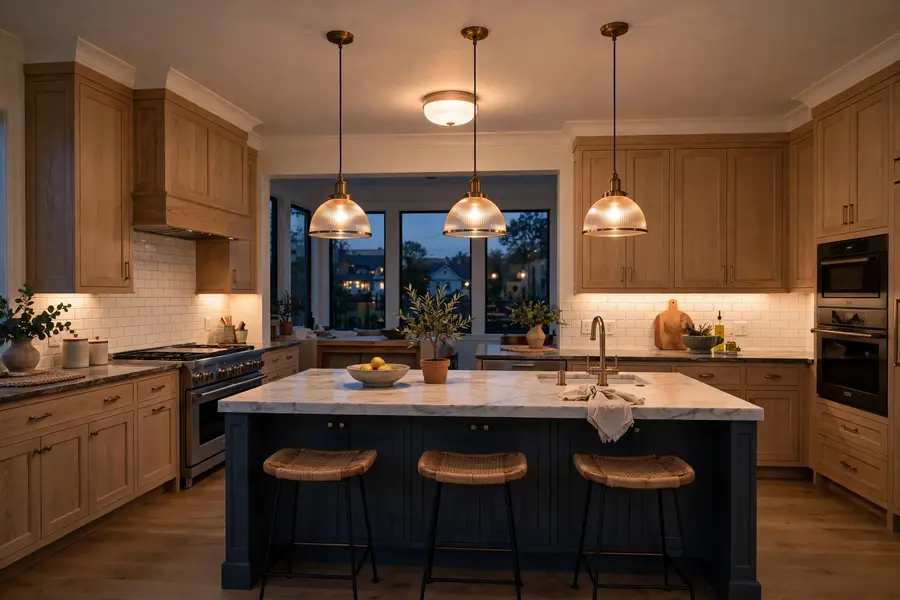
One ceiling fixture cannot light a whole kitchen. The counters, the sink, and the island stay dark in the middle even when the ceiling light is on, because one fixture in the center cannot reach all three at the same time. The fix is a small set of kitchen light fixtures planned by task: one layer for the room, one for the counters, and one for the island or table. Heights, spacing, and brightness numbers decide the plan. List where you chop, wash, and sit, then match a fixture to each spot. More guides sit under Kitchen.
Kitchen lighting at a glance
Narrow the type from the table, then take the numbers from the sizing sections.
| Type | What it does | Best spot | Ceiling fit |
|---|---|---|---|
| Pendant | Hangs on a cord, chain, or rod and lights one spot | Island, table, sink, bar | 8 feet and up |
| Flush mount | Sits flat on the ceiling and spreads light wide | Room center, small kitchen | Under 8 feet |
| Semi-flush mount | Hangs a few inches down and spreads light wider | Room center | 8 to 9 feet |
| Recessed downlight | Sits inside the ceiling, nothing hangs down | Whole room, counter runs | Any height |
| Track lighting | Heads slide and aim along a track | Long counters, galley kitchens | Any height |
| Linear suspension | One long bar of light over a long surface | Long island, long table | 8 feet and up |
| Chandelier | Arms or a sculptural frame, hung as a focal point | Large island, dining table | 9 feet and up |
| Under-cabinet bar or strip | Slim light under a wall cabinet, aimed down | Counter runs, sink wall | No ceiling height needed |
| Wall sconce | Wall light at eye level, adds side light | Breakfast nook, shelving wall | No ceiling height needed |
What are the layers a kitchen needs?
Three layers, three jobs. One ceiling fixture cannot cover all three. Ambient light fills the room so you can move safely and see the whole space. Task light lands on the counter, the sink, and the island, where hands, knives, and hot pans need clear sight. Accent light picks out open shelves or a backsplash.
Plan in that order: ceiling layer, under-cabinet light, then the island or table fixture, since it depends on the surface below it. Put the task layer on its own switch or dimmer when the wiring allows it. Check each spot from in front of it, not from behind your shoulders, since a fixture behind you leaves the counter in your own shadow.
How do you choose kitchen light fixtures for each spot?
Choose by the job at each spot. Let the table set the shortlist. A pendant suits one defined surface, such as an island or a table, because it drops light straight down on it. A flush mount suits a low-ceiling room center, because it spreads light without hanging into headroom. A semi-flush mount suits the same spot at 8 to 9 feet, because the short drop spreads light wider and shows more of the fixture. A recessed downlight suits a whole room and a counter run, because a row gives even light with nothing hanging down, and can follow the counter line.
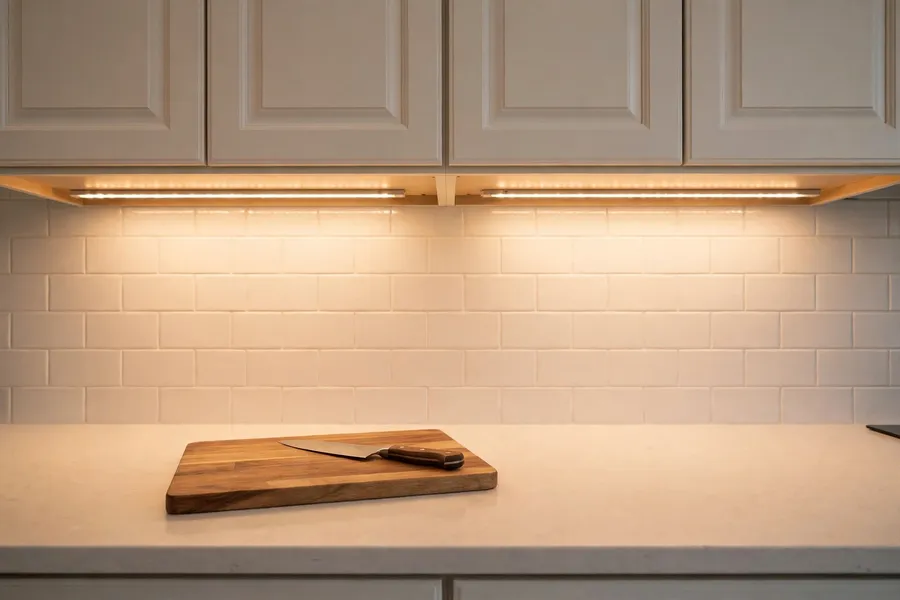
Track lighting suits a long or awkward layout, because each head aims on its own, so one track can serve a counter, a sink, and a shelf wall. A linear suspension suits a long island or table, because one bar covers the full length and avoids a row of drops. A chandelier suits a large island or dining table in an open plan, because its spread makes it a focal point. It needs a bigger room. An under-cabinet bar or strip suits any counter run under wall cabinets, because it lights the surface from the front edge, ahead of your hands. A wall sconce suits a nook or a shelving wall, because it adds light at eye level and softens a wall ceiling light leaves flat.
How high should pendants hang over an island?
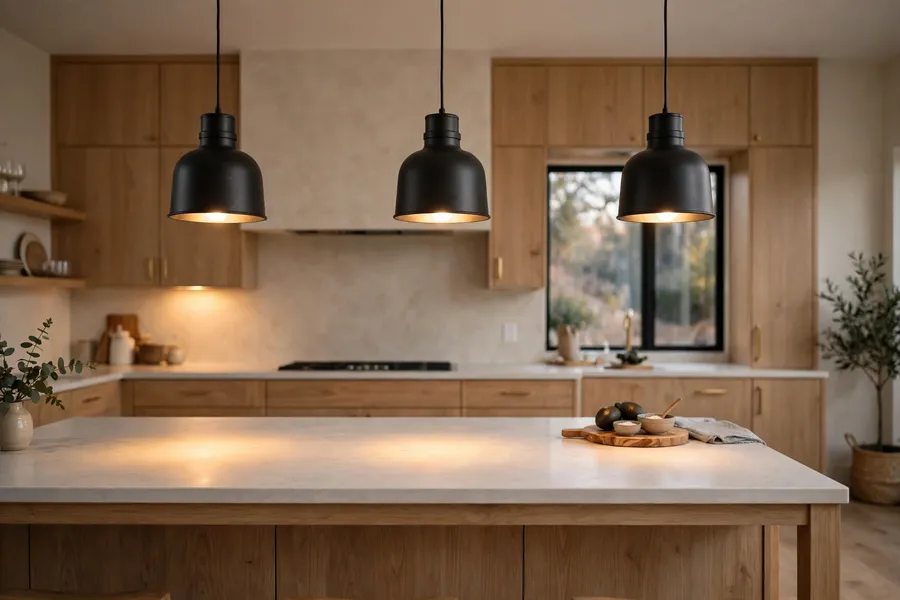
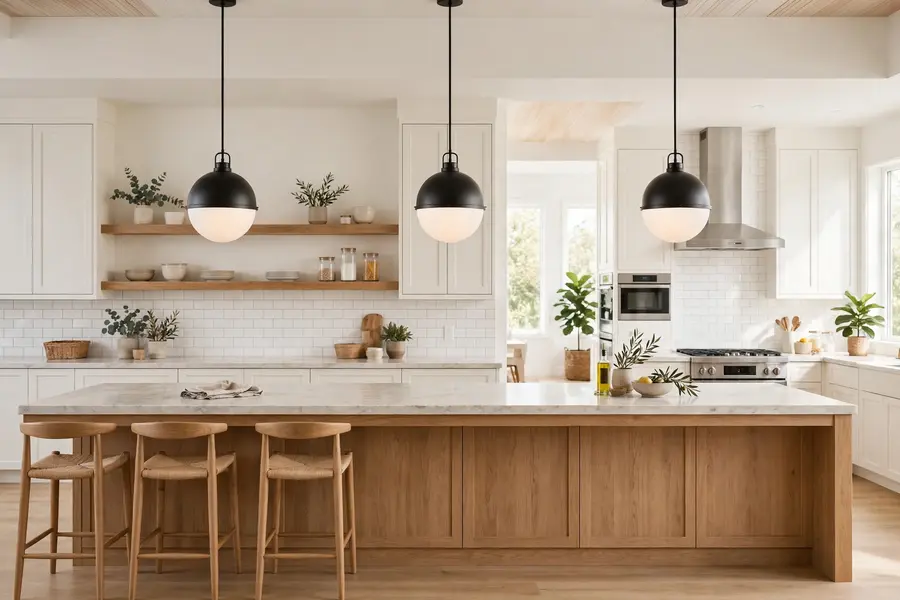
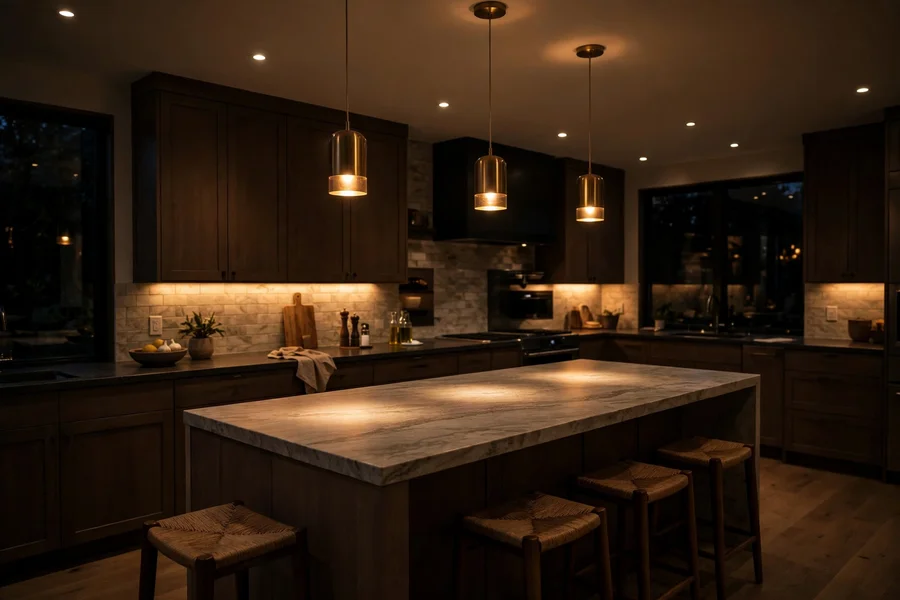
Pendants over an island should hang 30 to 36 inches above the countertop, measured to the lowest edge of the shade. Hunter states that range in its pendant placement guide, published January 9, 2026 and read October 27, 2026, with 24 to 30 inches between fixtures in a row. The low end suits a lower ceiling or prep use, because the light lands harder on the surface. The high end suits a taller ceiling, a wide shade, or a clear view across the island while seated. Measure from the counter, not the floor, since the gap above the surface controls glare and sightlines.
Set the count before you buy, using the segment method in the Lightology lighting guide, published October 4, 2019 and read October 27, 2026. Divide the island into one more segment than the number of pendants, and hang a pendant where segments meet: a 6 foot island with two pendants splits into three 2 foot segments, with pendants at 2 and 4 feet. Keep the outer pendant at least 6 inches in from each end, hang every pendant in a row at the same height, and check the row from a seated position before the wiring is fixed.
| Island length | Pendants | Spacing note |
|---|---|---|
| Under 4 feet | 1 | Center it over the island |
| 4 to 6 feet | 2 | 24 to 30 inches apart, center to center |
| 6 to 8 feet | 3, or 1 linear fixture | 24 to 30 inches apart, center to center |
| Over 8 feet | 3 or more, or 1 linear fixture | 24 to 30 inches apart, 6 to 12 inches from each end |
What size pendant or chandelier fits the surface below it?
Size follows the surface below: too wide crowds it, too narrow looks lost above it. For a single pendant or chandelier over an island or table, keep the fixture width at about one half to two thirds of the surface width, and leave about 6 inches of clear surface on each side of the fixture, following the dining sizing rule in the Lightology guide read October 27, 2026. A linear fixture should run about one half to two thirds of the island or table length: about 3 to 4 feet on a 6 foot island. For a row of small pendants, the shades should not touch, and the row should span about two thirds of the island length. Small pendants run 12 to 18 inches across, per the Artika guide read October 27, 2026, which gives the same two thirds coverage rule.
Check clearance wherever people walk. Lightology puts a chandelier or pendant at 7 feet off the ground in open space, and Hunter gives the same 7 feet for hallways, so a fixture over a walkway needs its lowest point at or above that line. When in doubt, choose smaller for a row and larger for a single focal fixture.
Where do recessed lights and track heads go?
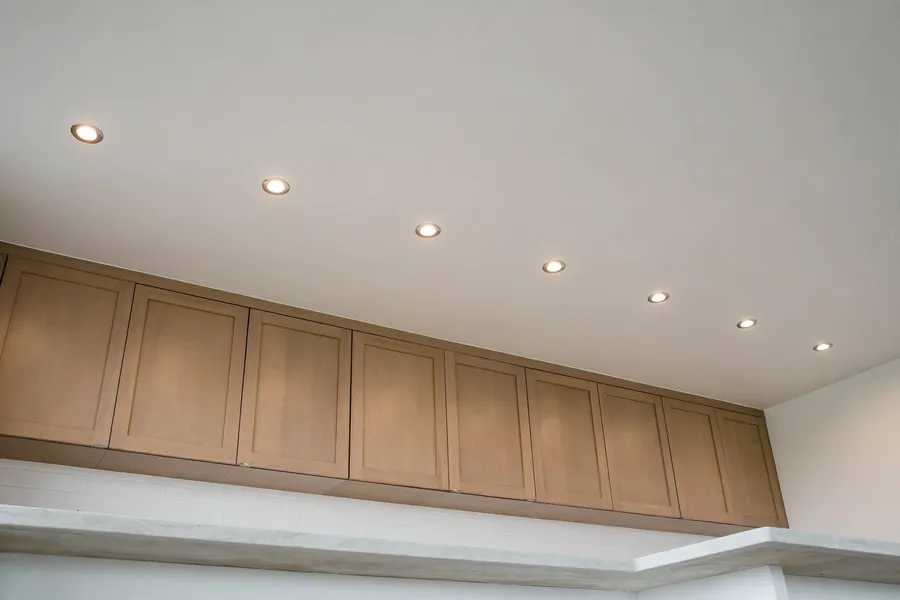
Set recessed lights by ceiling height and by the work below, not in a neat square that ignores the counters. A square grid lights the floor and leaves the counters in shadow. Lightology states the starting rule in its guide read October 27, 2026: recessed lights should sit no more than half the ceiling height apart, so 4 feet on an 8 foot ceiling and 5 feet on a 10 foot ceiling. The same guide puts basic downlights 36 to 48 inches from the wall. Use that distance for room rows, and set counter downlights about 24 inches out from the wall, above the front edge of the counter, so light lands on the surface and your hands instead of your back.
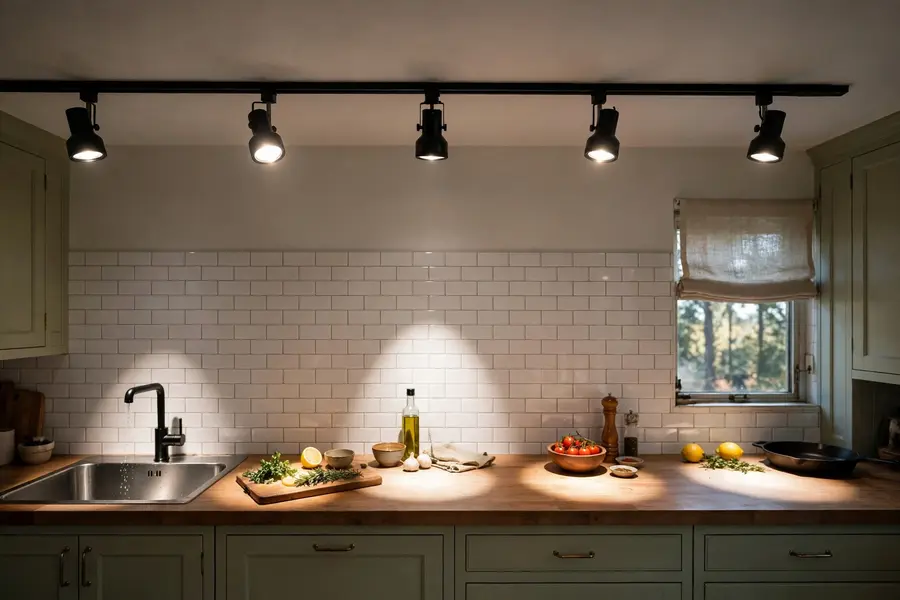
Track heads follow a different rule, because each head aims on its own. Lightology puts track heads 2 to 4 feet apart for most uses in the guide read October 27, 2026, and the heads can slide and turn after fitting, so the track itself needs only to run along the zone it serves. Run the track parallel to a long counter or a galley kitchen, aiming one head at the sink, one at the prep stretch, and one at any shelf wall. Angle heads at the work surface. Check the layout at night, with only that circuit on, since daylight hides uneven spacing.
What light belongs over a table, a sink, and a bar?
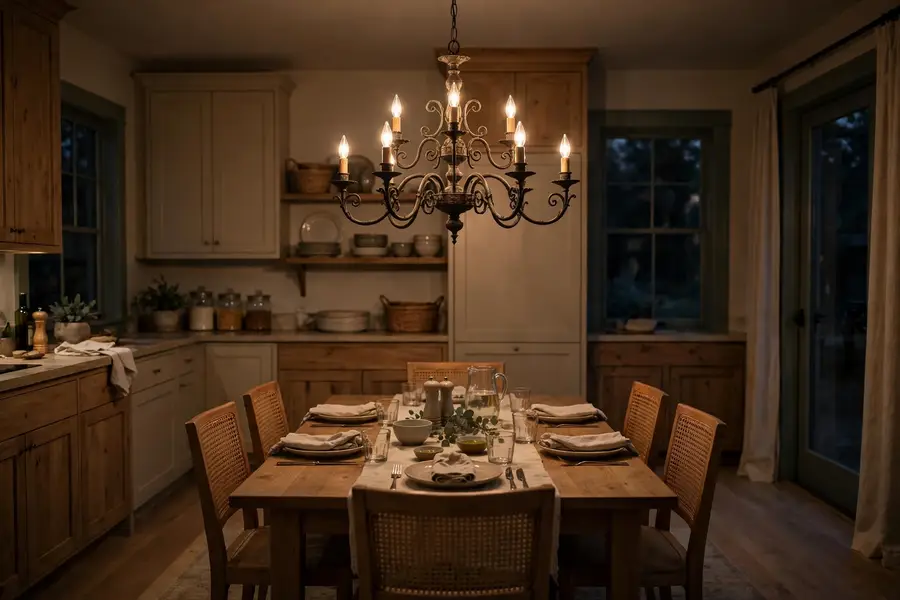
Over a dining or eat-in table, hang a pendant, linear fixture, or chandelier 30 to 36 inches above the surface, following the Hunter range read October 27, 2026, centered over the table, not the room. Size it to about one half to two thirds of the table width, with about 6 inches showing past each side, and put it on a dimmer. Use the high end for eating and conversation.
Over a sink, center one fixture over the basin, where hands, dishes, and sharp tools need light. A single small pendant works when the ceiling allows a drop; a recessed downlight or short track head works when it does not. Under a window, hang a sink pendant a little higher, keeping the bottom within the 30 to 36 inch band unless the window forces a change. Read the location rating on the fixture label first, before you buy. The UL dry, damp, and wet ratings sort fixtures by moisture exposure: dry for rooms with no dampness, damp for condensation and humidity, wet for places where water can drip or splash on the fixture. Choose damp-rated where steam and splashes reach the fitting, wet-rated where water can hit it directly, and ask a licensed electrician to confirm the rating when the sink has a spray faucet or the fixture sits low.
Over a bar or peninsula, treat the surface like a short island: two small pendants suit 4 to 6 feet, spaced 24 to 30 inches apart, 30 to 36 inches above the counter, and a single linear fixture suits a longer bar at about two thirds of its length. In a breakfast nook, a pendant or small chandelier follows the table rules, and a wall sconce adds side light when the nook has one ceiling point.
How bright should a kitchen be, and which color temperature?
Brightness is set by lumens, not watts. Watts measure energy used, lumens measure light given out, and buying by watts is how a kitchen ends up dim. The University of Maryland Extension home energy lighting page, read October 27, 2026, gives the reference points: an 800 lumen LED replaces an old 60 watt incandescent at about 9 to 12 watts, 1,100 lumens replaces a 75 watt bulb, and 1,600 lumens replaces a 100 watt bulb. Match the lumen count of the old bulb when swapping bulbs, not its wattage. For a built-in LED, read the lumen figure on the spec sheet. The Extension page gives CRI guidance: 80 or above for general use, 90 or above for kitchens, where true color matters for meat and produce.
Color temperature is measured in Kelvin, and lower numbers look warmer. Use 2700K for warm dining light, 3000K for most kitchens, and 3500K to 4000K for hard prep work and cool-toned cabinets. Hunter notes in its guide read October 27, 2026 that warm white suits dining areas and neutral white suits task areas, so an open-plan space needs one temperature decision. Keep one Kelvin across pendants, recessed lights, and under-cabinet strips, since mixed temperatures read as a mistake. The 3000K setting is the safe default for cooking and eating. Read the FTC Lighting Facts label before buying: it lists lumens, watts, rated life, Kelvin, and yearly energy cost.
Should kitchen lights be LED, and what about dimming?
LED is the practical default, because LED lamps give the lumen counts above at a fraction of the wattage of older lamps, and run cooler above counters. A fixture with replaceable bulbs lets you change the bulb, color temperature, and brightness later without touching the wiring, while a built-in array has no bulb to change, so the whole fixture is replaced at the end of its rated life. Choose replaceable bulbs to adjust color temperature or brightness later, and a built-in array only when the shape leaves no room for a bulb, such as a slim linear bar. Check the rated life and warranty on a built-in array before buying.
Dimming needs a matched pair: a dimmable lamp and a dimmer rated for LED loads. Lutron states on its Ariadni LED+ dimmer page, read October 27, 2026, that the dimmer is tested on thousands of bulbs, controls up to 150 watts of LED or 600 watts of incandescent and halogen, and gives over 250 brightness levels. An old incandescent dimmer often makes LED lamps flicker, buzz, or drop out at low settings. Before buying, check both makers' compatibility lists for the exact lamp and dimmer, since either list alone can miss a mismatch. Put the island, table, and under-cabinet layers on dimmers when the wiring allows it, so the kitchen can drop from prep brightness to evening light. If a lamp flickers, buzzes, or jumps from dim to bright, the dimmer and lamp do not match, and the fix is a compatible dimmer or a different lamp. Power must be off at the breaker before any dimmer or fixture work, and a licensed electrician should do any change involving new wiring or a new box.
Which fixture suits a low, high, vaulted, or sloped ceiling?
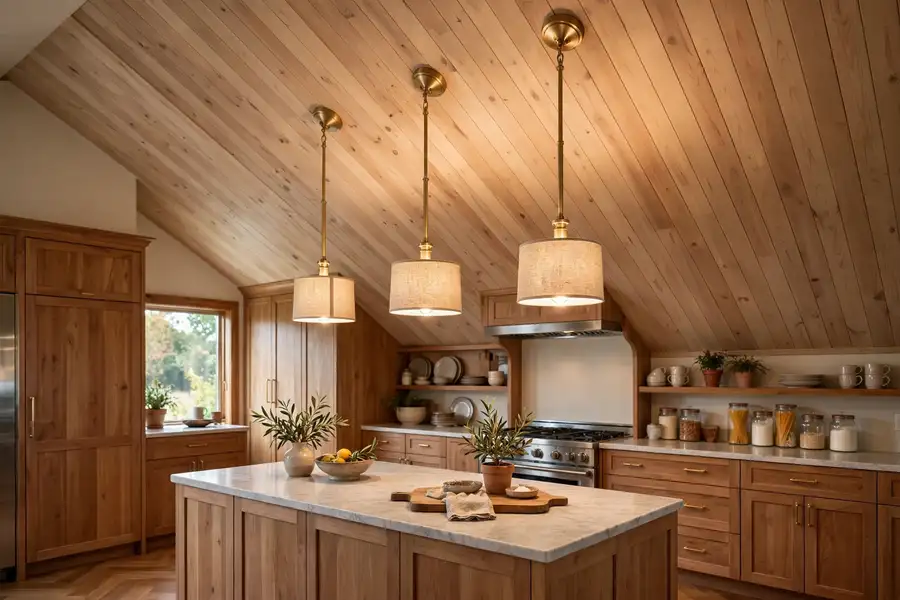
Ceiling height decides the fixture family before style enters the choice. Under 8 feet, use flush mounts, recessed downlights, and under-cabinet light, since anything hanging down eats headroom. Hunter warns in its guide read October 27, 2026 against pendants in low-ceiling rooms and high-traffic areas, where a hanging fixture breaks the flow and becomes a hazard. At 8 to 9 feet, semi-flush mounts join the list, and short pendants over an island or table work at 30 to 36 inches above the surface. Above 9 feet, longer pendants, linear suspensions, and chandeliers work, with longer rods or cords to reach the same 30 to 36 inch band. The height above the surface stays the same as the ceiling rises; only the drop gets longer.
A vaulted ceiling needs a longer drop on the high side and a check that the fixture hangs level. A sloped ceiling needs a fixture rated sloped-ceiling adaptable in its spec sheet, or a swivel canopy that lets the stem hang straight down. Cord and chain adapt to a slope more readily than a fixed rod. Check the maximum slope in the instructions, and confirm the canopy and hardware suit the ceiling material. In a galley kitchen, run recessed lights or a track along the room, and skip pendants in the walkway. Keep at least 7 feet from the floor to the bottom of any fixture over a walking route, following the Lightology guide read October 27, 2026.
How do finishes and styles change the choice?
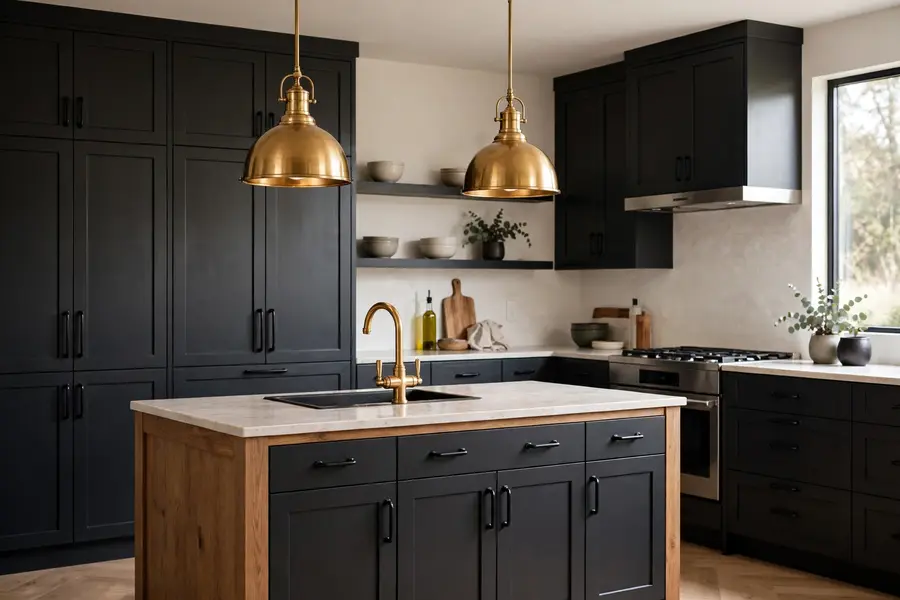
Choose finish against what is already in the room: cabinets, faucet, and hardware. Matte black reads as a clean line against white cabinets, and pairs with black hardware, but dust shows on flat black tops, so wipe them when you clean the shades. Gold and brass read warm against white, gray, and green cabinets, and suit rooms where the faucet or hardware already carries a warm metal. Brushed nickel reads cool and gray, and pairs with stainless appliances and gray cabinets without drawing the eye. Copper reads warm and red, and darkens with time and touch, so it suits a room where that change is welcome. Oil-rubbed bronze reads dark and warm, and suits farmhouse and rustic rooms where metal should look aged. Chrome reads bright and reflective, and shows water spots readily, so it suits a room where fixtures are wiped often. White blends into a white ceiling, which suits a small kitchen where the fixture should give light without visual weight. Stainless steel matches appliances directly, and suits a kitchen where appliances are the dominant metal.
Modern means clean lines and plain shades. Farmhouse means lantern frames, seeded or clear glass, and mixed wood and metal. Rustic means aged metal and heavier frames. Industrial means exposed hardware and metal shades. Coastal means woven shades, light wood, and open glass. Mid-century means globe shades, sputnik arms, and brass. Vintage and retro means schoolhouse glass and ribbed shades. Traditional means chandelier arms and symmetrical forms. Contemporary means sculptural shapes and mixed materials. Choose one style family for ceiling fixtures in an open-plan room, and keep the under-cabinet layer plain. Two style families in one sightline read as a mistake, not as variety.
How do you match fixtures to each other and to cabinet hardware?
Matching works by repeating one decision and varying the rest. Repeat one finish across the ceiling fixtures in an open-plan space, and vary shape and size instead: the same black finish can appear as island pendants, a center flush mount, and a small sink pendant. Keep metal finishes in one sightline to two at most, one dominant and one accent. If faucet and pulls are brushed nickel, pendants in brushed nickel or matte black both read as planned, while a third metal in gold would need to appear twice to look deliberate.
Cabinet hardware need not match the fixtures exactly; an exact match often looks flat. Match the finish family instead: warm with warm, cool with cool, and black as the accent with any family. Brass pulls and a brass faucet take brass or black pendants readily, while chrome would fight the warm hardware. Black pulls take black, brass, or nickel pendants, since black acts as a neutral. In an open plan, carry the same finish into dining and living fixtures sharing the sightline, so all read as one scheme.
What works in a small kitchen?
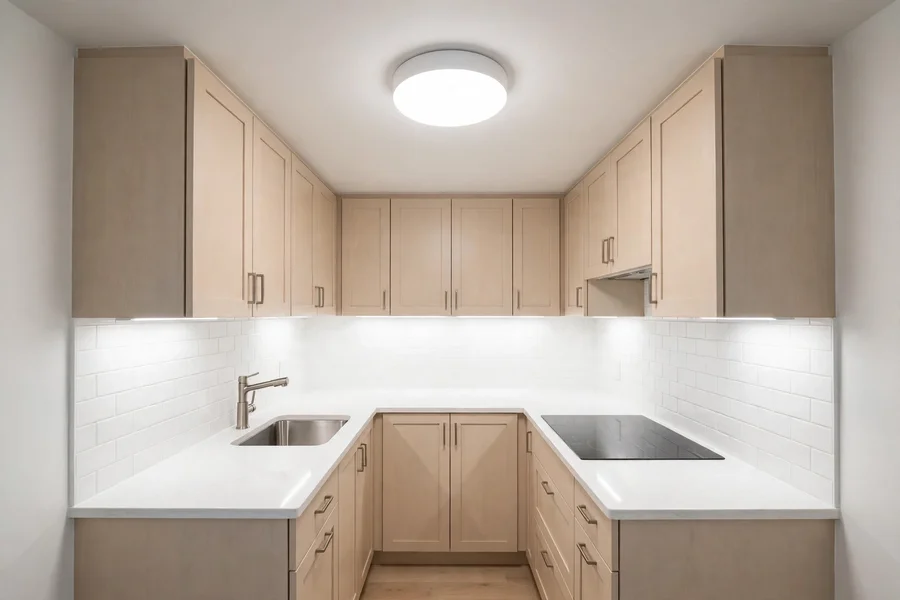
A small kitchen needs fewer fixtures, not smaller versions of a large plan, since every fixture competes for headroom. Start with one ceiling fixture, add under-cabinet light for the counters, and add a pendant only when an island, peninsula, or table gives it a surface. A flush mount or recessed row suits the center, since neither hangs into the moving space. Under-cabinet light matters more here, because the short counter run is fully used for prep, so light the full run. A single small pendant over a sink or two-seat table can give a focal point without crowding it, at 12 to 18 inches across from the Artika guide read October 27, 2026, hung 30 to 36 inches above the surface.
Skip a chandelier, a long linear fixture, and a row of three pendants, since each needs length and clearance the room does not have. Keep one color temperature and one finish family, since a small room shows every mismatch at once.
How do you replace a fluorescent fixture?
Decide first whether to change the tubes or the whole fixture. A sound housing, working ballast, and clean diffuser can take LED tubes, while a yellowed diffuser, humming ballast, or rusted housing argues for a full swap to a new LED flush mount or recessed unit. LED tubes come in three forms, and the form decides the work. Type A tubes, called plug-and-play, work with the existing ballast, so no rewiring is needed, but the ballast must be on the tube maker's compatibility list and in good condition. Type B tubes, called ballast bypass, need the ballast removed and lamp holders wired directly to line voltage, following the tube maker's diagram. Hybrid Type A/B tubes work either way, so they can start as plug-and-play and convert when the ballast fails. Never mix fluorescent and LED tubes in one fixture.
Ballast bypass work is rewiring, so it belongs with a licensed electrician, along with any new box, new circuit, or moved position. Power must be off at the breaker before any tube, ballast, or fixture work, and the circuit must be tested dead before wires are touched, since a wall switch alone does not make a circuit safe. After a bypass, the fixture must carry the tube maker's caution label, warning it now runs on line voltage. Dispose of old tubes through a local hazardous waste or lamp recycling collection, since they contain mercury. A full swap avoids the ballast question entirely.
How do you clean greasy fixtures?
Grease reaches fixtures through steam and vapor, settling on shades, glass, and tops. Turn power off at the breaker before cleaning, let bulbs and shades cool fully, and remove shades and diffusers that lift off. Wash smooth glass and metal with a soft cloth, mild soap, and warm water, then dry fully before refitting, since water left in a socket can cause faults. Wipe pendant tops and flush mount rims, where dust and grease collect out of sight, and wipe the inside of a shade when light looks dim, since film inside cuts output most. Avoid abrasive pads and harsh cleaners on plated and painted finishes.
Choose materials with cleaning in mind when the kitchen sees heavy frying: smooth metal and glass wipe clean, while textured metal, woven, fabric, and paper shades trap grease. Keep pendants clear of the cooktop unless a hood sits between the two, since rising grease coats the fixture, as Hunter warns in its guide read October 27, 2026.

What about lighting for an outdoor kitchen?
An outdoor kitchen needs fixtures rated for the weather they will face, and one short check settles the choice: where rain can reach the fixture, use a wet-rated fixture, and where a solid roof keeps rain off but humidity and steam reach it, use a damp-rated fixture. Run outdoor circuits through ground fault protection, and have a licensed electrician do the wiring and boxes, since outdoor work combines water, metal, and line voltage.
Quick answers to common questions
How many pendants do I need over a kitchen island?
Two pendants suit 4 to 6 feet, three suit 6 to 8 feet, and one suits under 4 feet, with 24 to 30 inches between centers and 6 to 12 inches from each end.
Can you put a pendant over a kitchen sink?
Yes, when centered over the basin, hung 30 to 36 inches above the counter, and rated damp where steam and splashes reach it. A recessed downlight or short track head serves the same spot when the ceiling is too low or a window sits above the sink.
What color temperature is best for a kitchen?
3000K suits most kitchens, since it reads warm without going yellow, for cooking and eating. Use 2700K when dining mood matters most, and 3500K to 4000K for hard prep work, keeping one temperature across the open-plan room.
Do kitchen lights need to be on a dimmer?
No, but a dimmer on the island, table, and under-cabinet layers lets one set of lights serve prep, meals, and cleanup. Pair a dimmable lamp with an LED-rated dimmer, and check both makers' lists before you buy.
Can I replace a fluorescent kitchen fixture with LED myself?
A plug-and-play Type A tube swap needs no rewiring, but only with a compatible ballast in good condition, and power off at the breaker. A ballast bypass, a swap involving new wiring, or any moved box needs a licensed electrician.
Which setup should you buy first?
The right kitchen light fixtures follow the work first and the look second, so buy in the order the room needs light. Start with the ceiling layer and the under-cabinet layer, since those two cover the room and the counters on their own. Add the island or table fixture next, sized and hung to the surface below it. Check the location rating, Kelvin, CRI, and dimmer compatibility on the label before ordering, and measure the island, table, and ceiling first.